BREAKDOWN
In the following read I'll be putting all the process I've documented to get this done. If you have interest in knowing how I did each step of the process, keep reading. But if you want, there's a simplier breakdown video on Youtube :)
MAIN IDEA
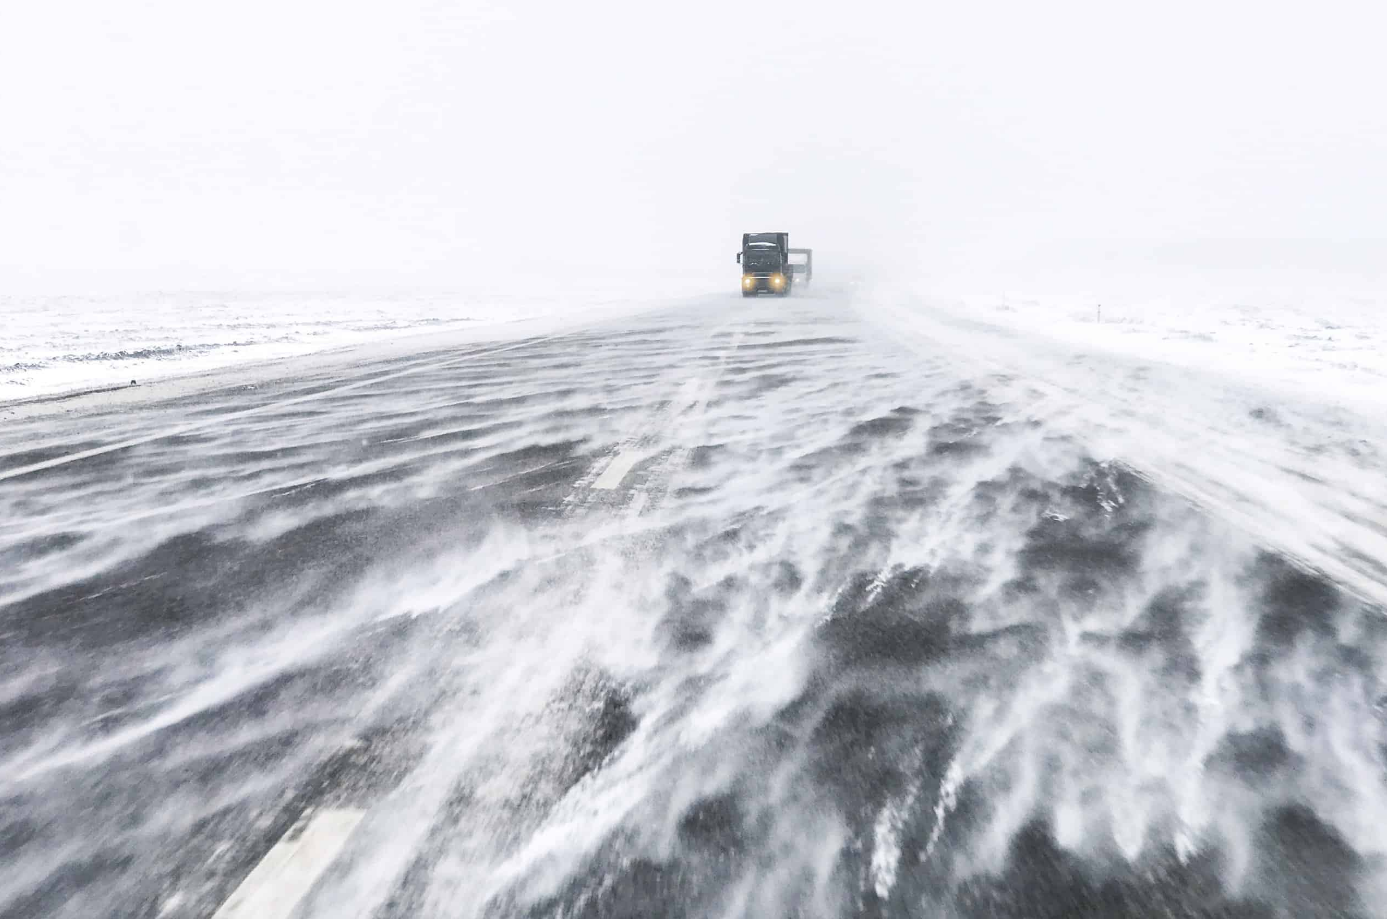
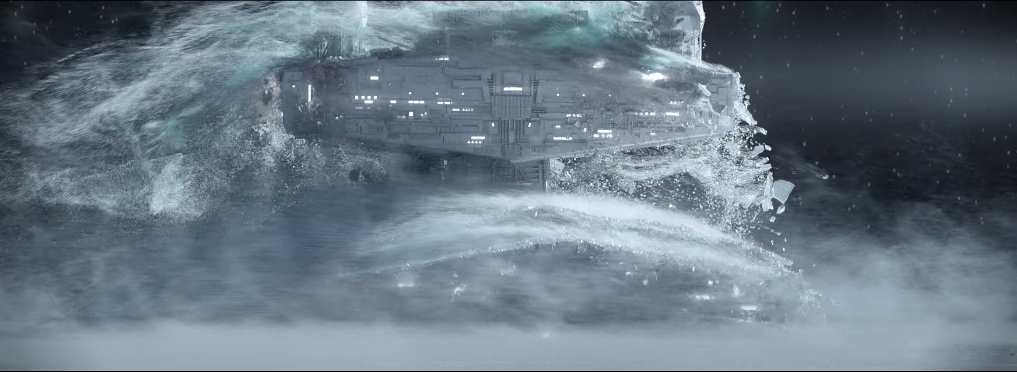
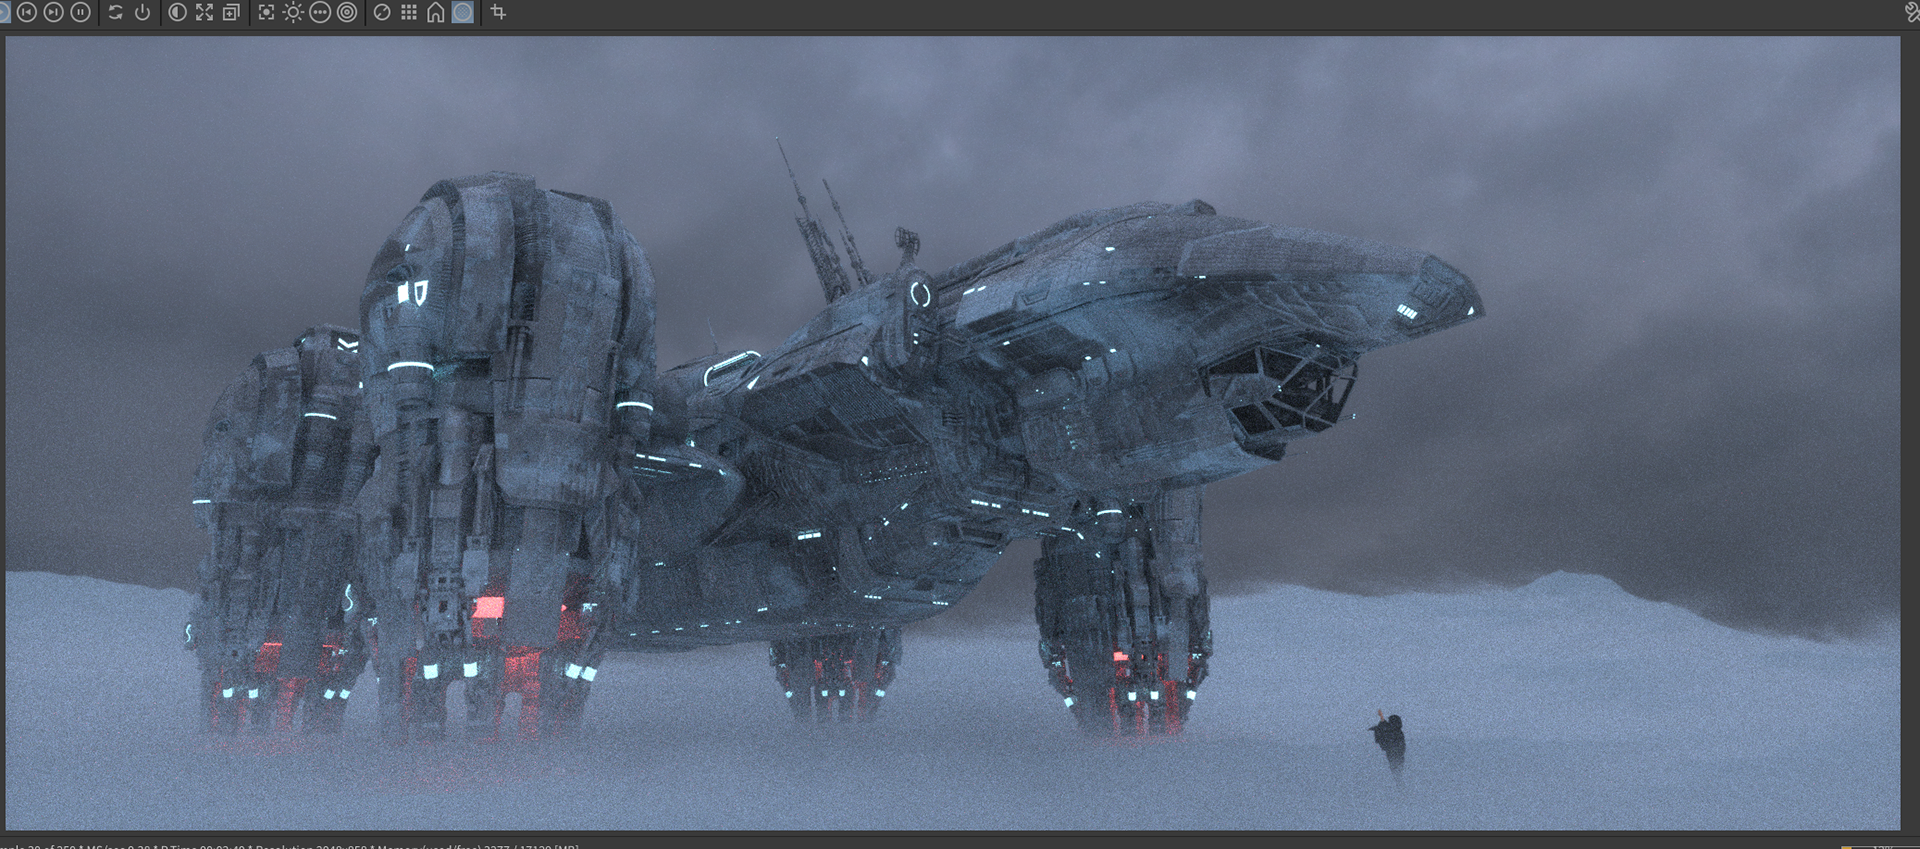
To begin with, my idea was to land the spacecraft in a snowy environment. I thought of something like a secret evil base in a very remote place in the mountains 😅
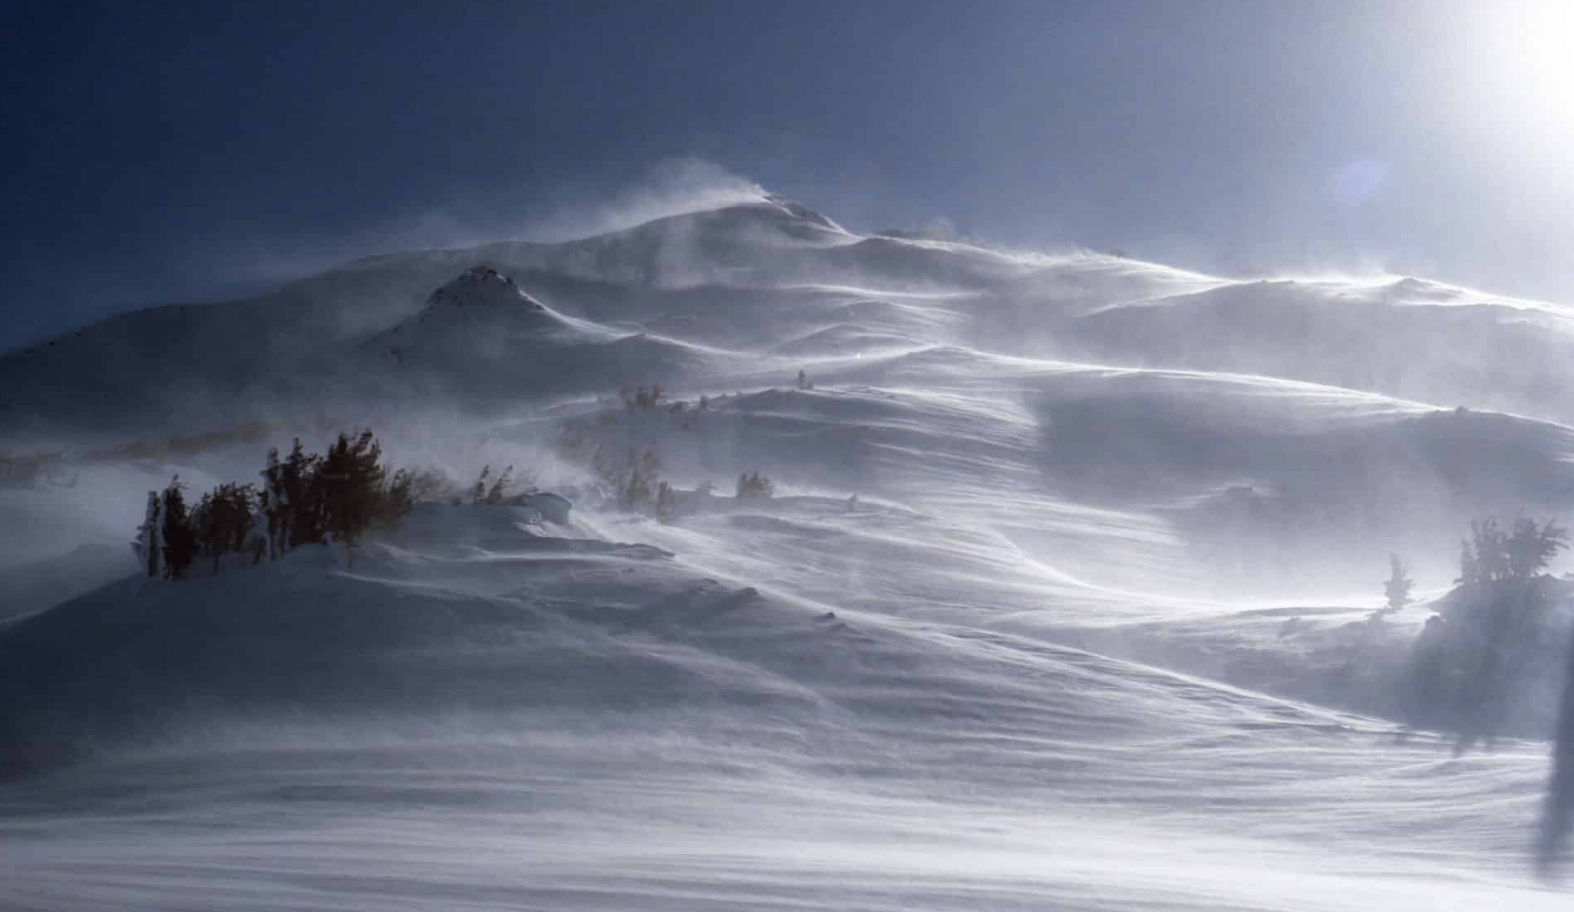
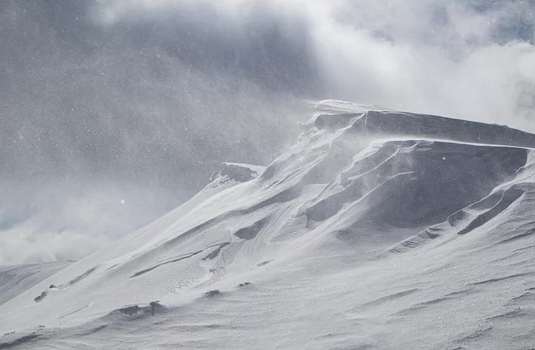
I wanted to bring in a snowstorm and create the effect of particles and smoke colliding with the ship. In addition to the thrusters raising smoke from the ground!
I thought of progressing in the following way:
- Create the basic environment
- Create the effect, look and animation of the thrusters
- Create the effect and simulation of smoke and particles reacting to the proximity of the thrusters
- Create the effect and simulation of smoke and particles from the snowstorm colliding with the ship
REFERENCE GATHERING

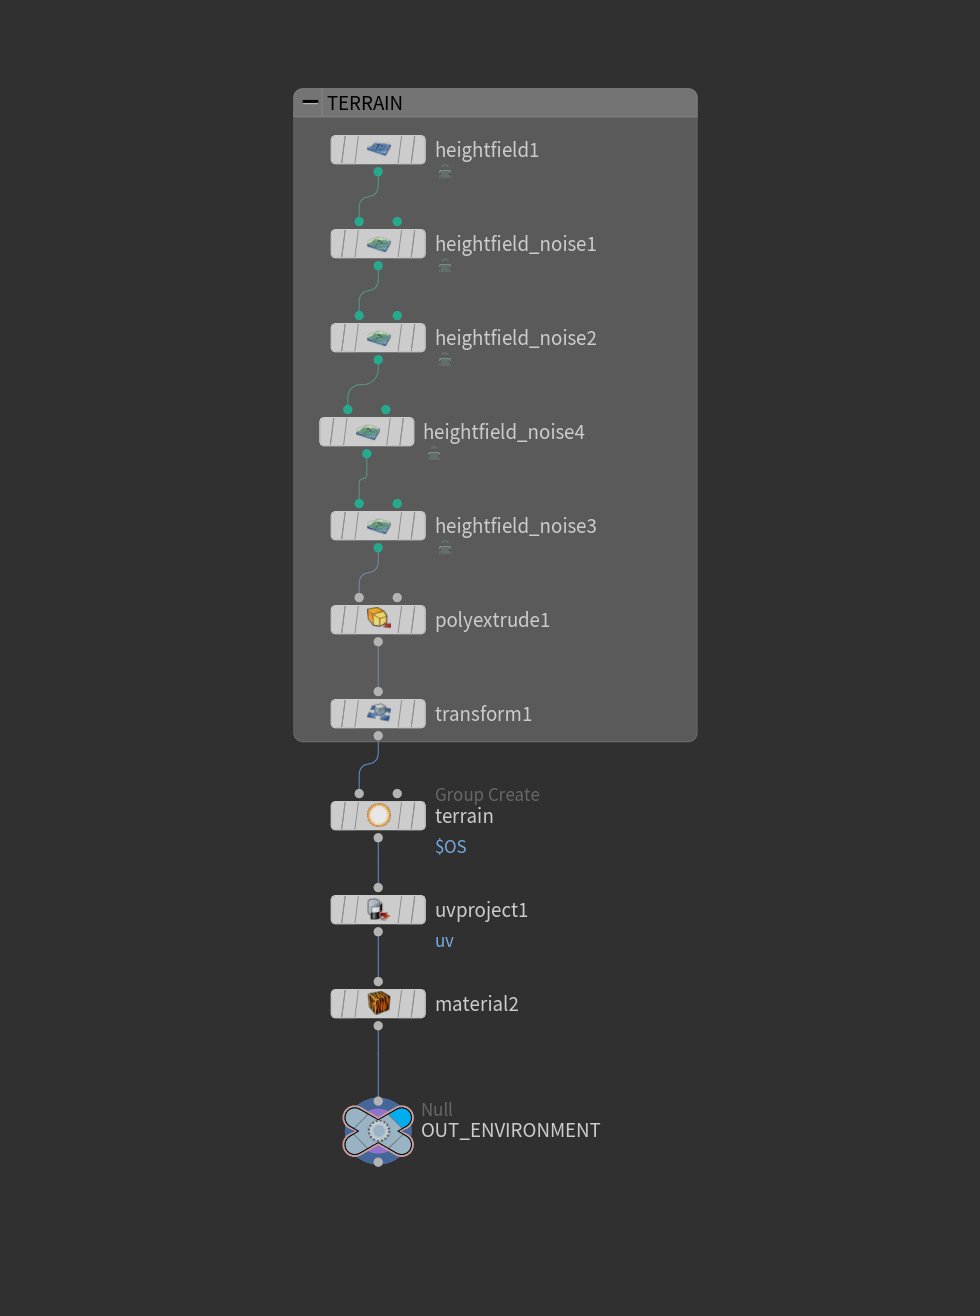
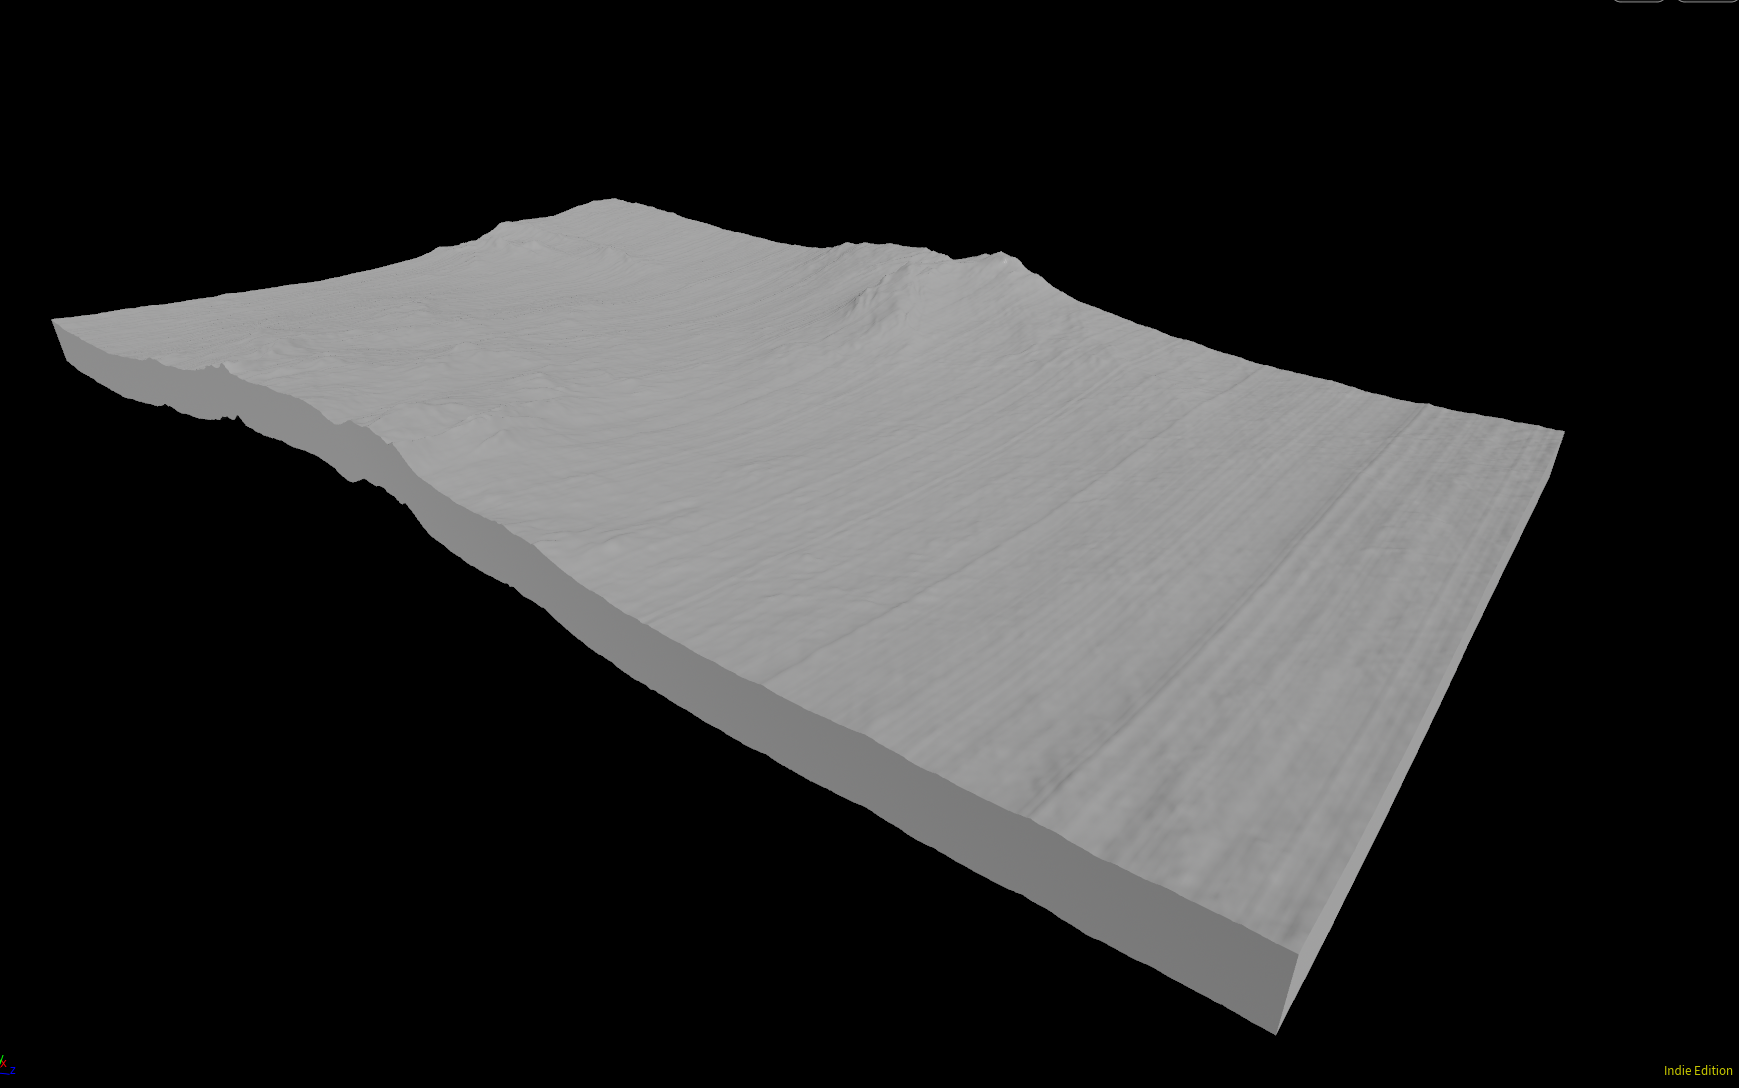
ENVIRONMENT
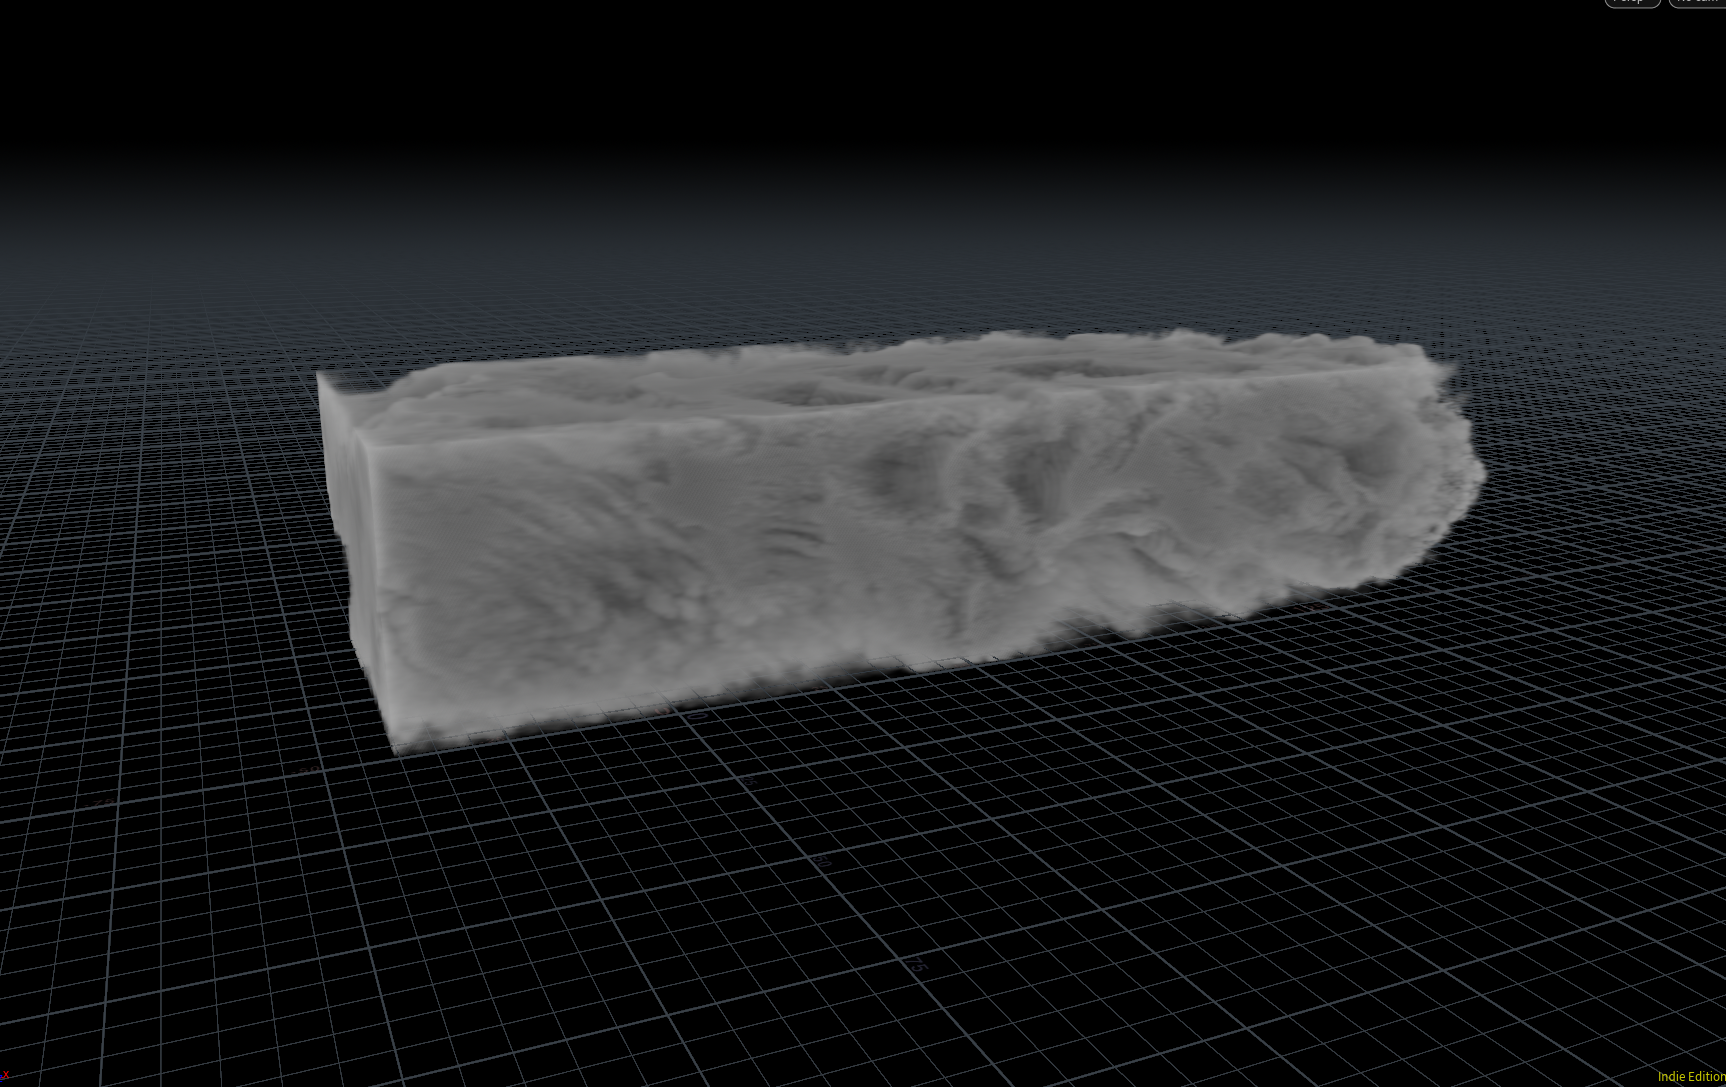
I created a basic terrain using Heightfield to serve as an environment.
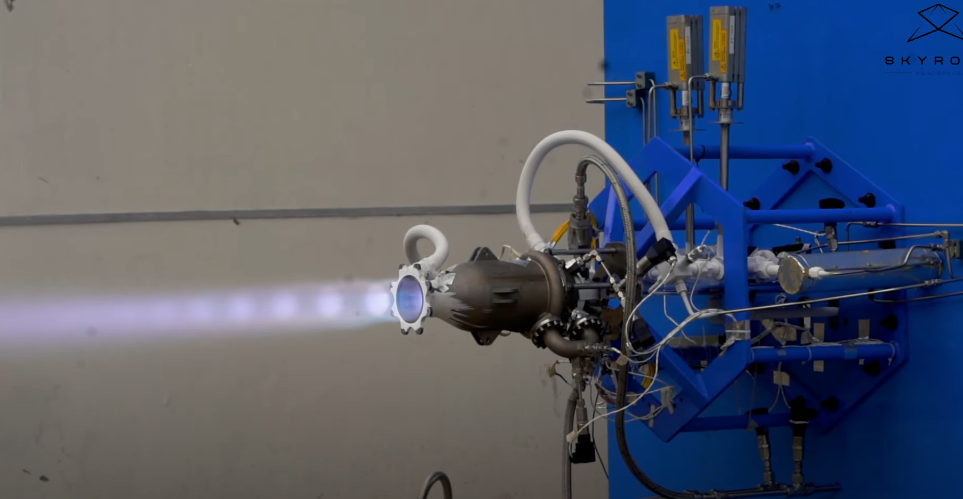
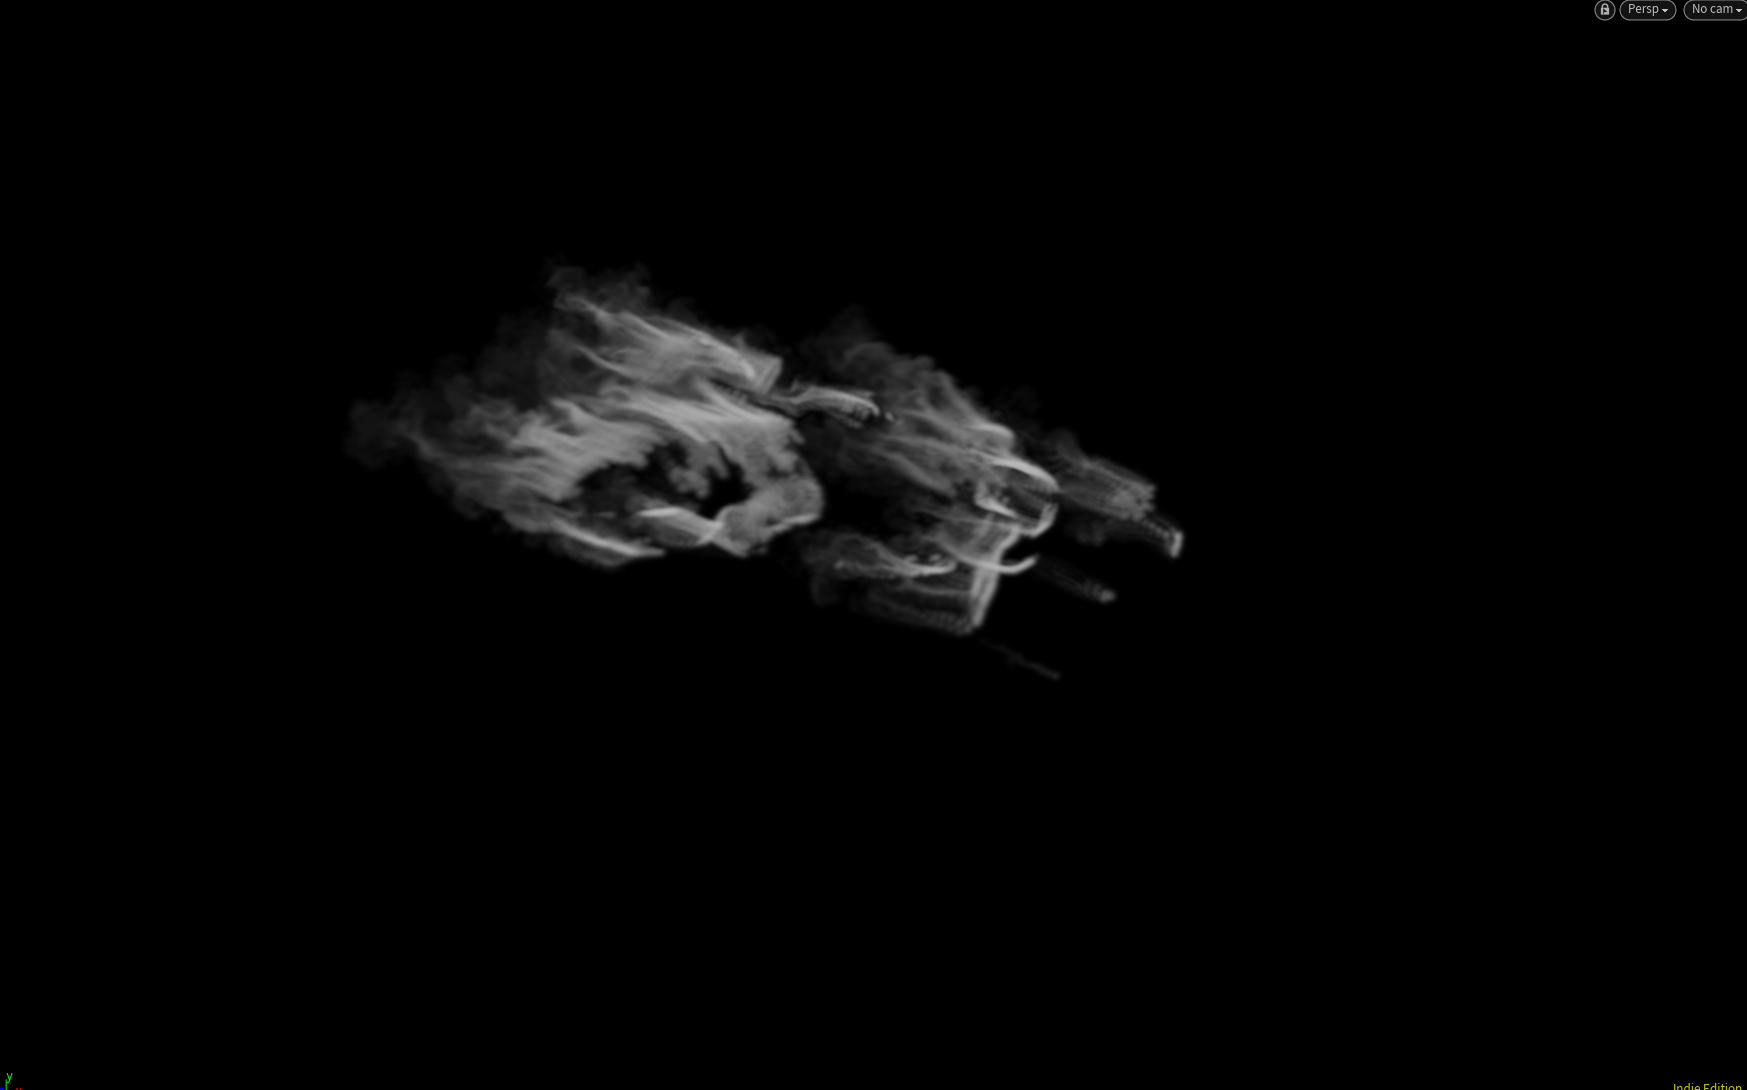
THRUSTERS
Ship animation made by Rodrigo de Angelis
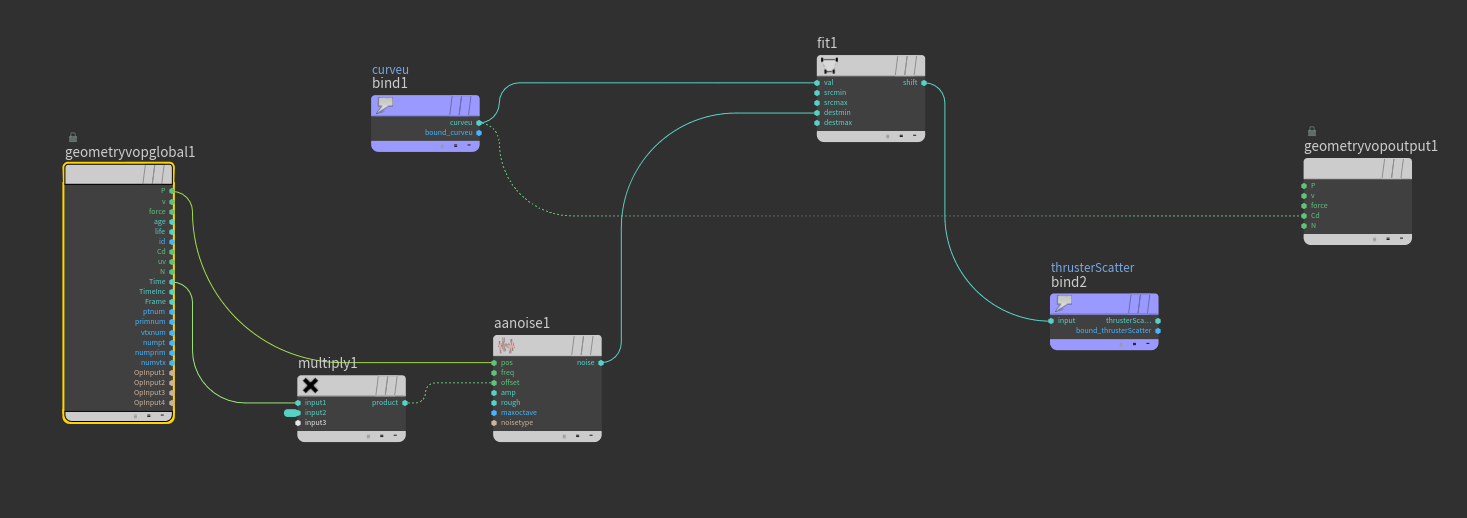
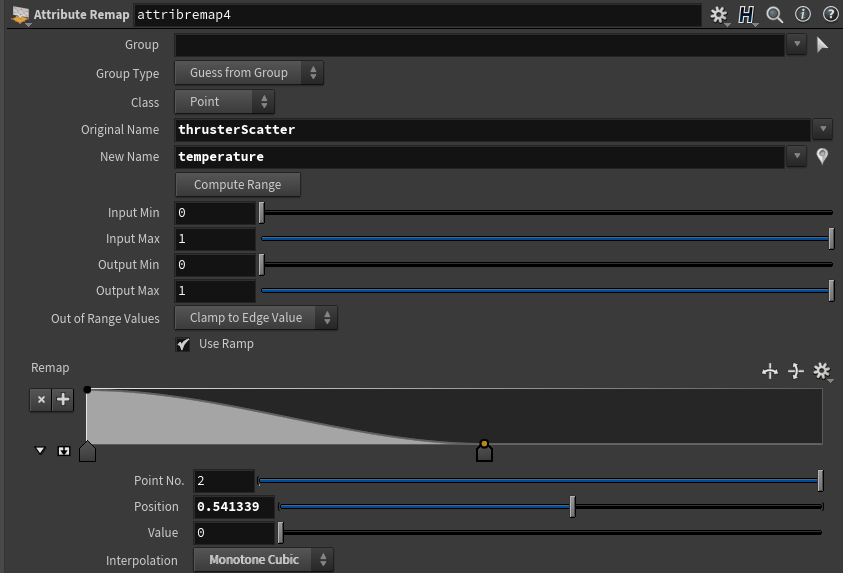
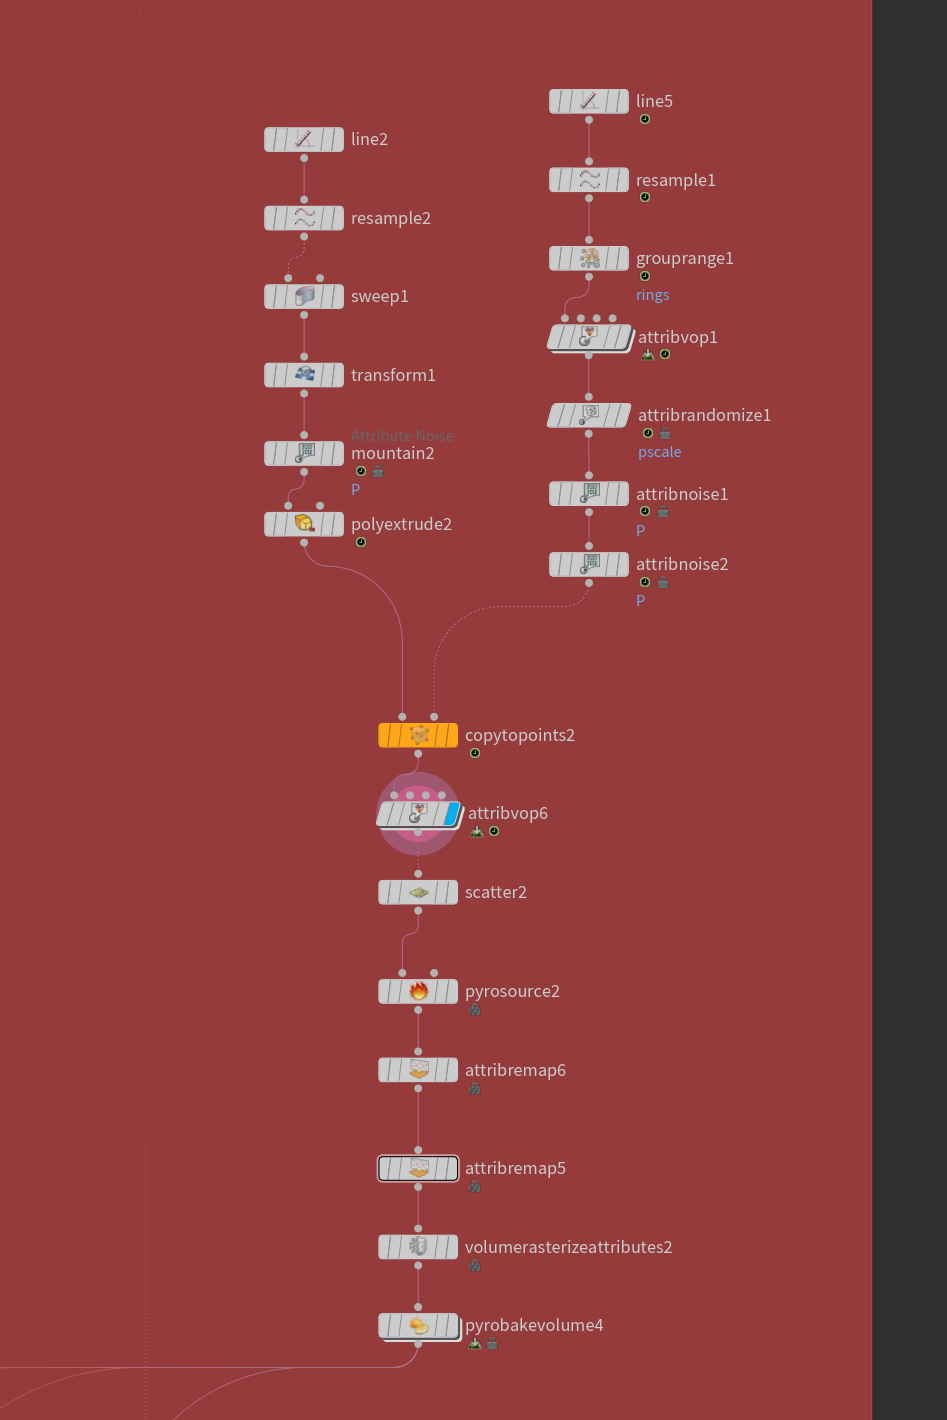
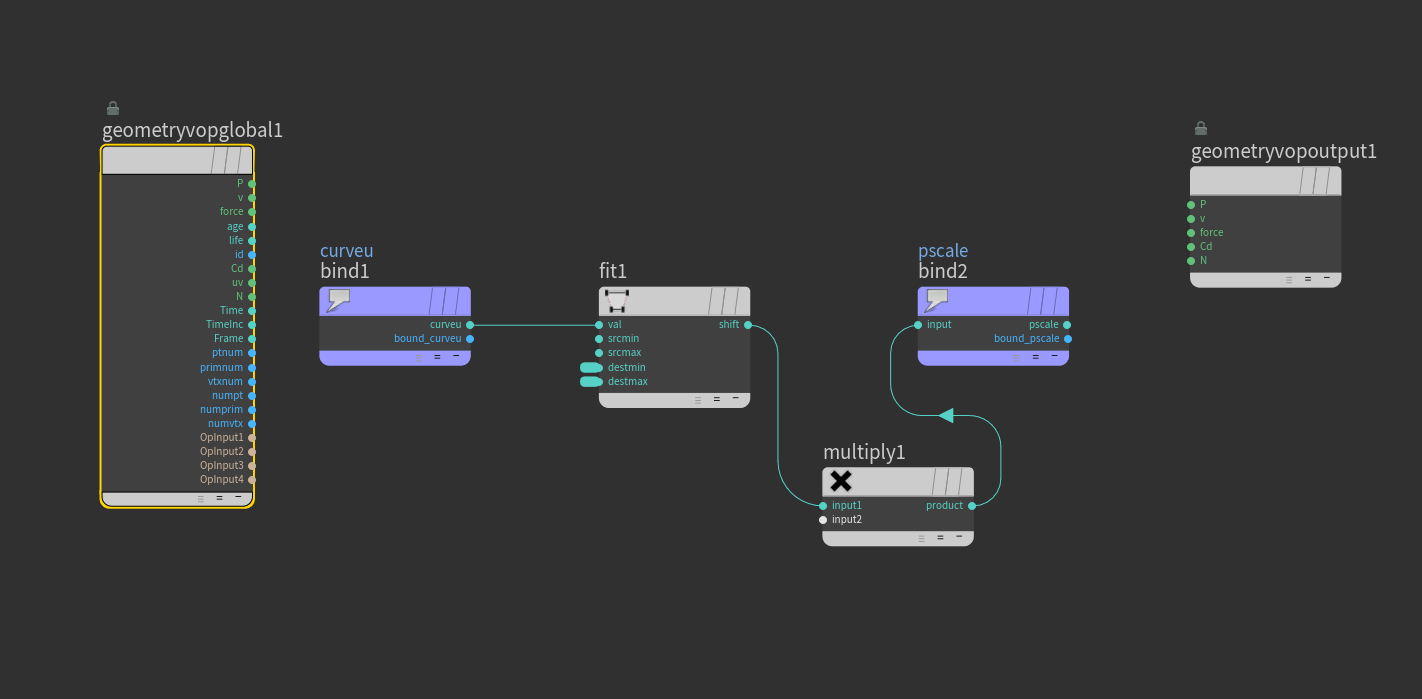
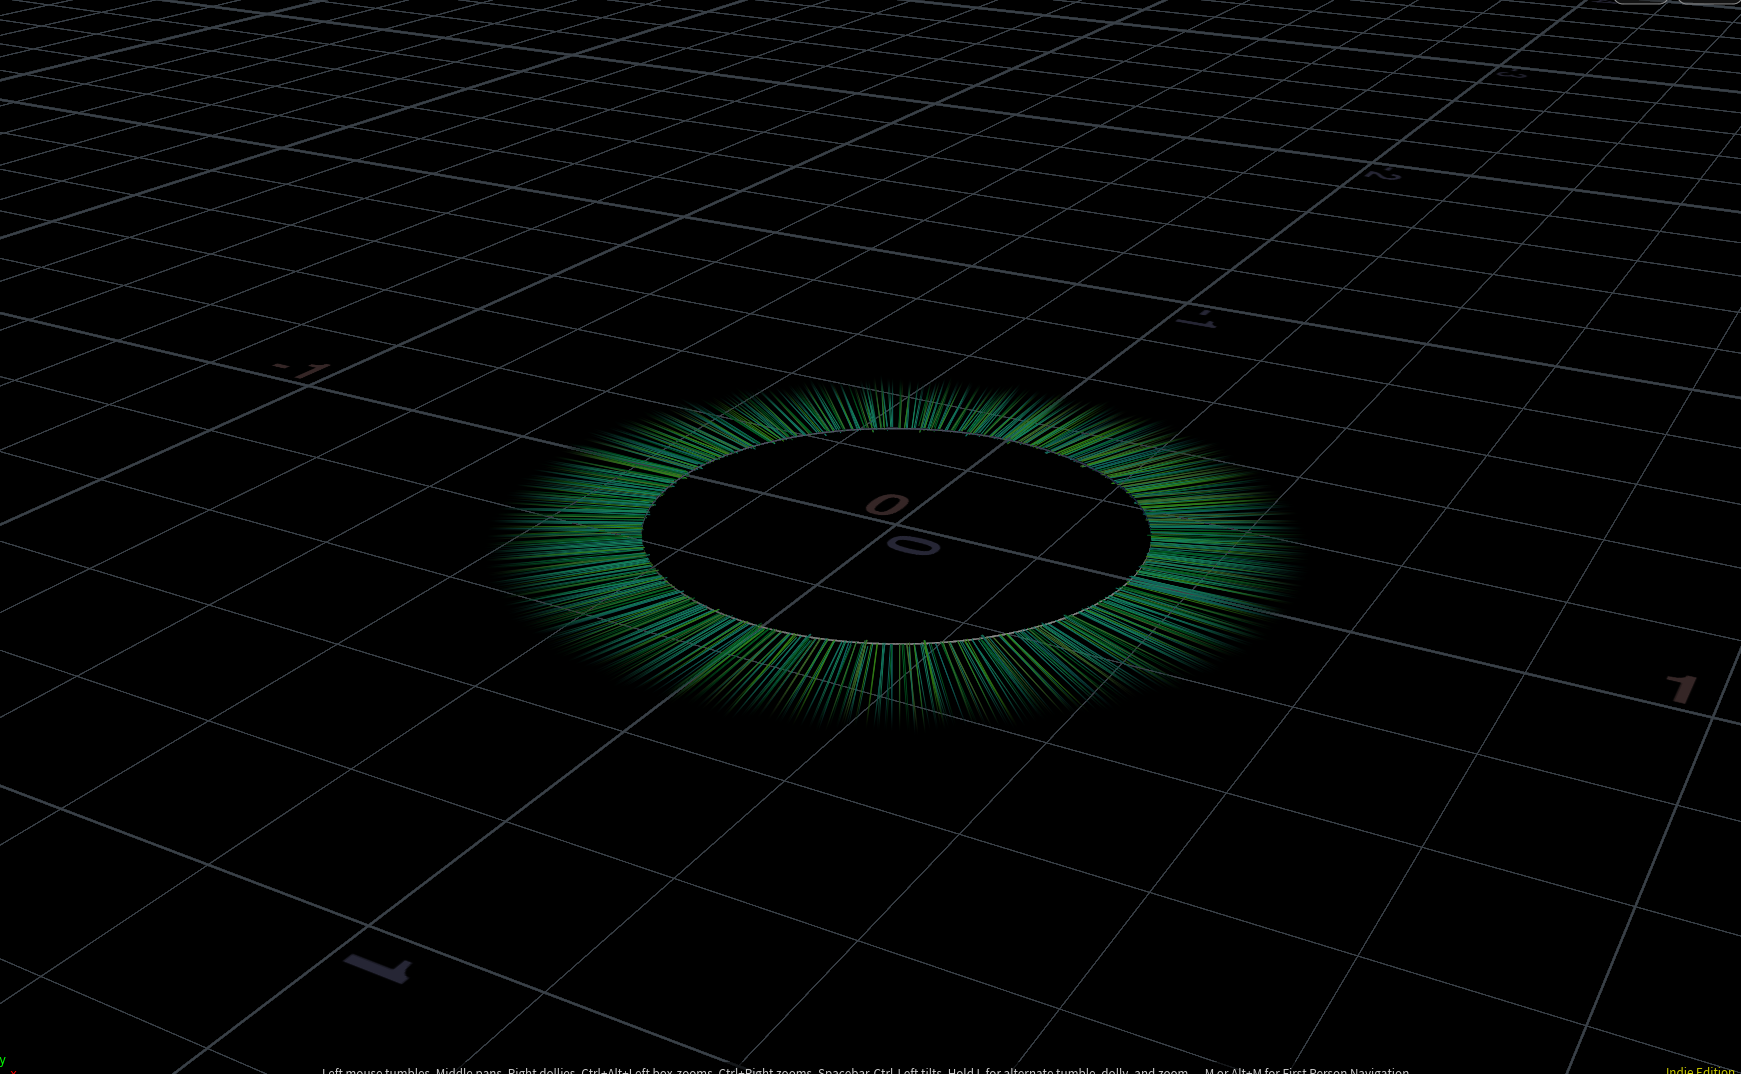
I made the outer part using an animated line, sweeped it and made an attributevop to give some noise to the Cd and also stored this noise on a attribute called "thrusterScatter". Then I've scattered points and remaped density and temperature relative to the noise I just created.
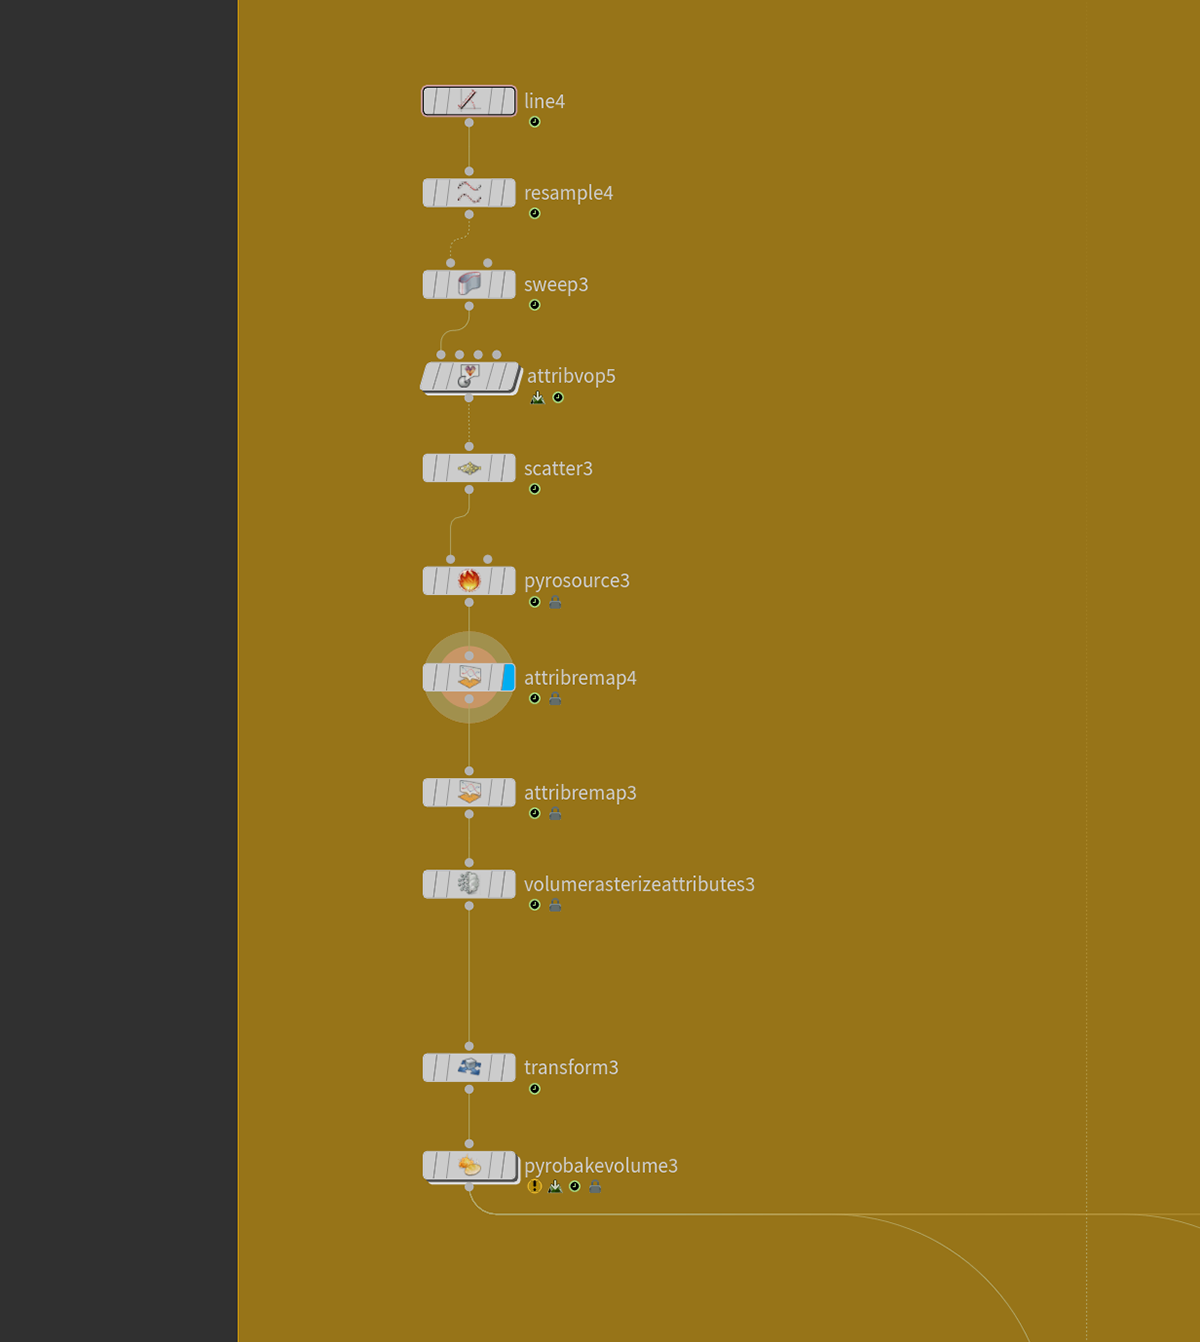
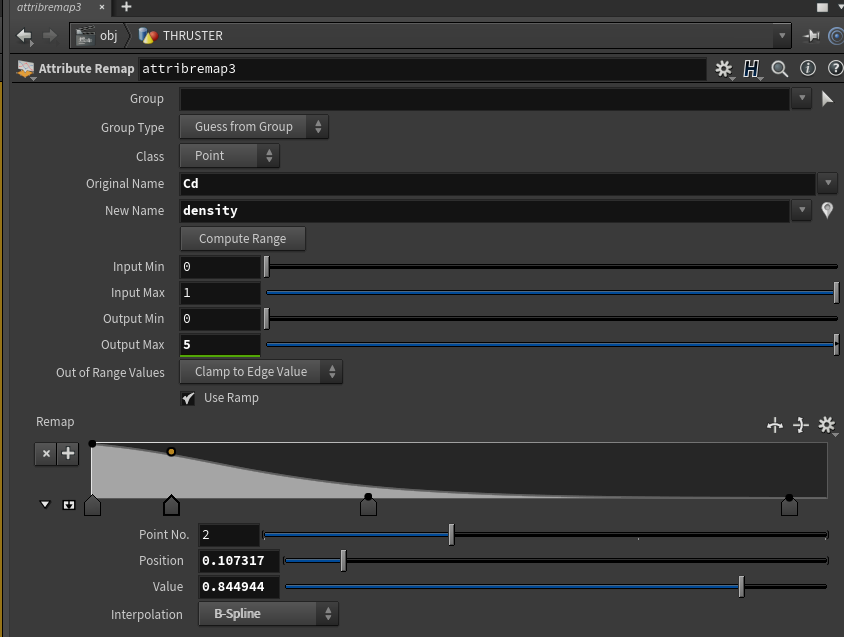
Converted it to a pyro volume and copied it to a point selected from each ship thruster. Cached it out as VDB.
The internal part is pretty much the same except I made a line and copied a "droplet" to it's points, animated the points with noise on the z and y axis and also transformed it into pyro to rasterize the volume.

PROXIMITY SMOKES
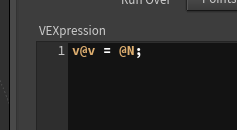
To start the proximity FXs, I first created and clipped a simple sphere, so I could get only the normals pointing outwards. Then I created velocity equal to these normals.

Next, I've created a reference line linked to the same point as the thrusters, and copied my discs with velocity to this line's points. Stored it to a attribute called "proximityMask".


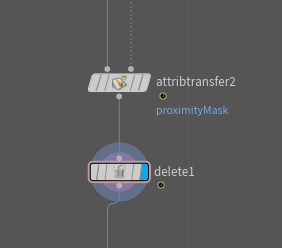
Transfered this attribute to my ground mesh to limit the proximity points, and then transfered the velocities to the selected points.

From there, I just used the points to emit smoke, using the velocity to guide the smoke's behavior.
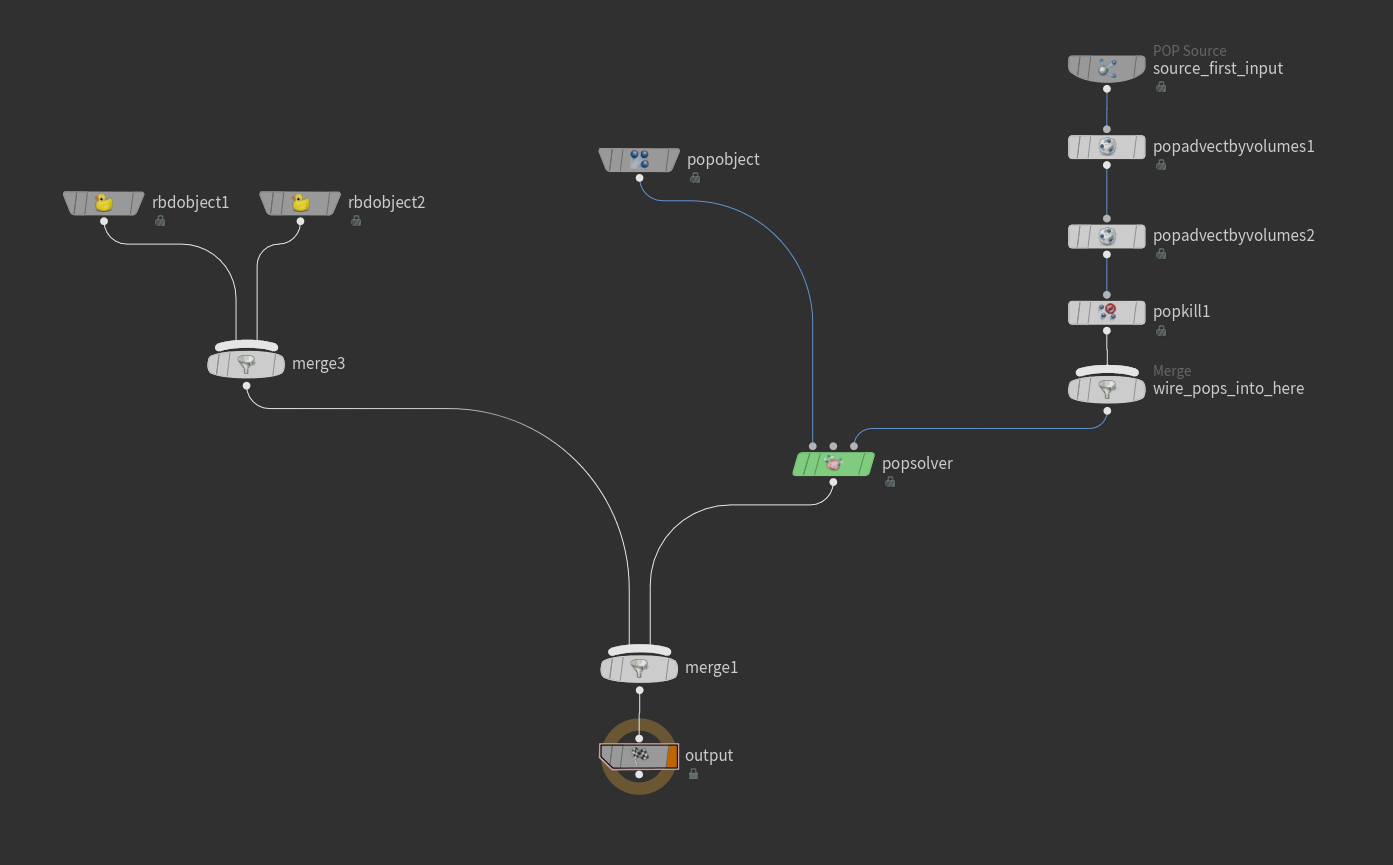
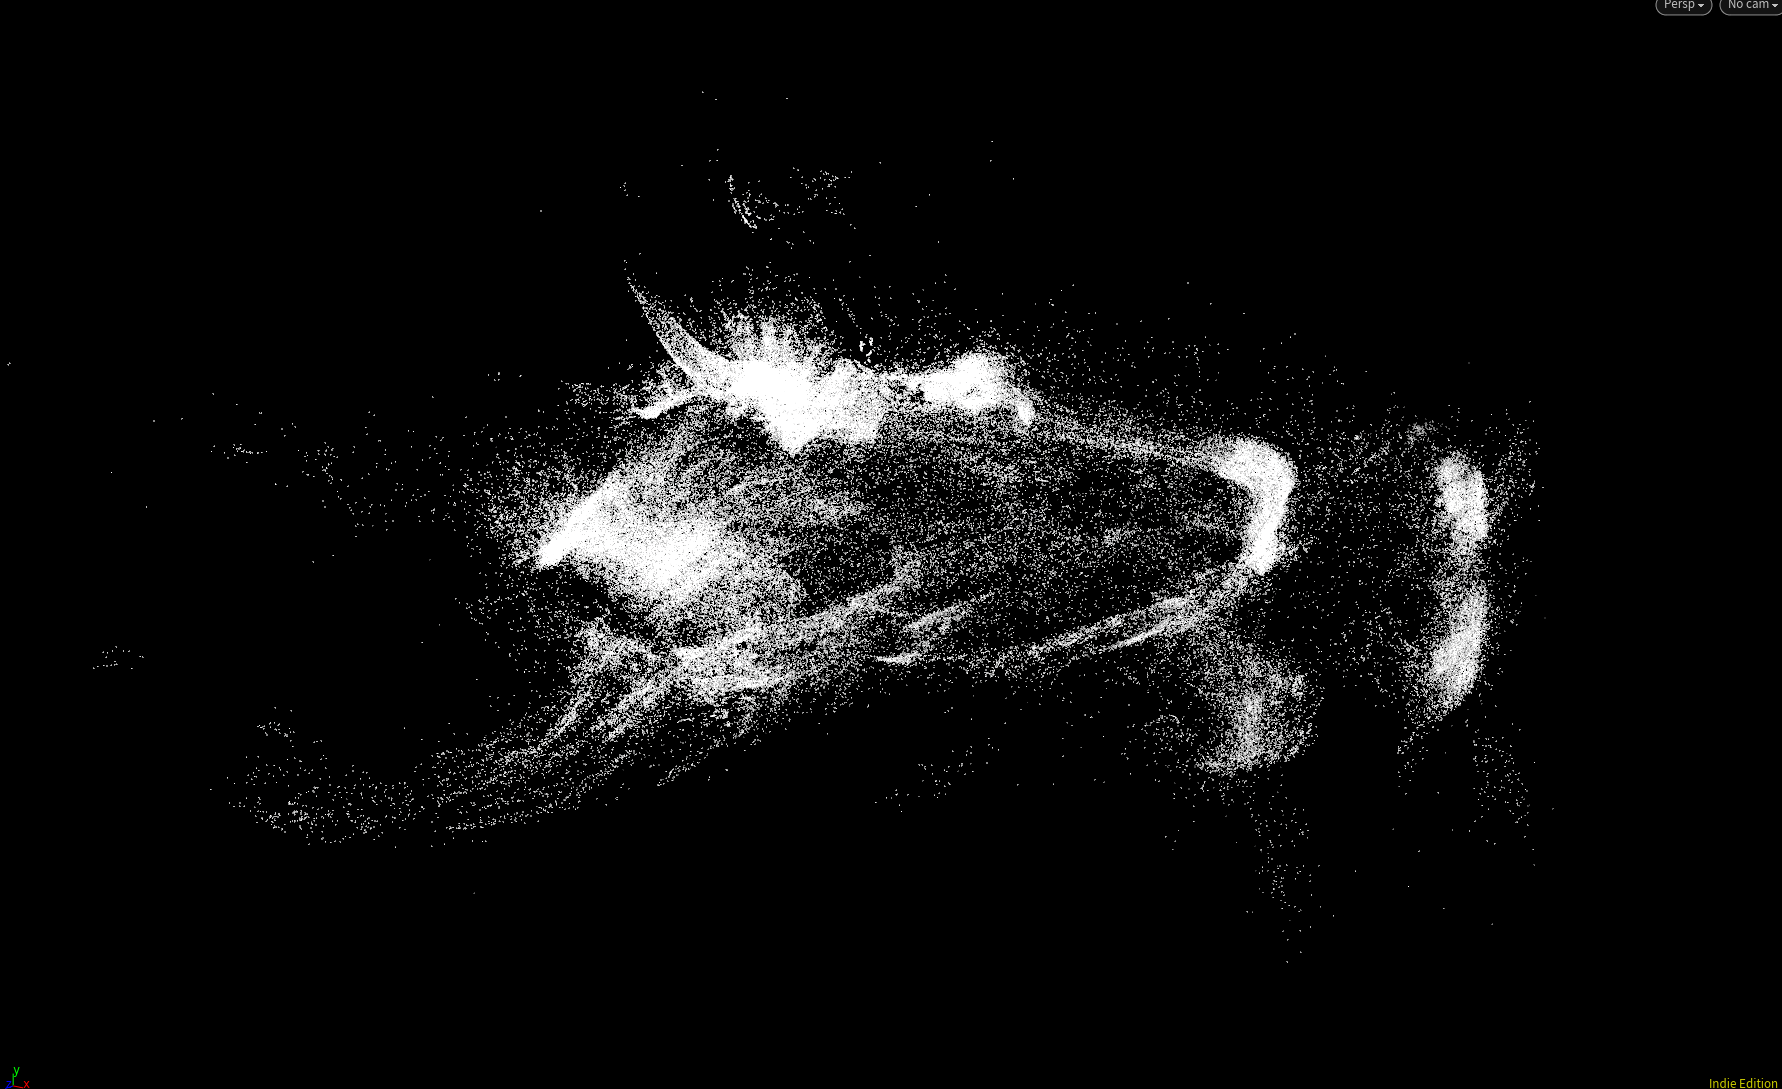
PROXIMITY PARTICLES
These particles are being emitted from the same proximity points, and I've used the proximity smoke's velocity to advect the particles.

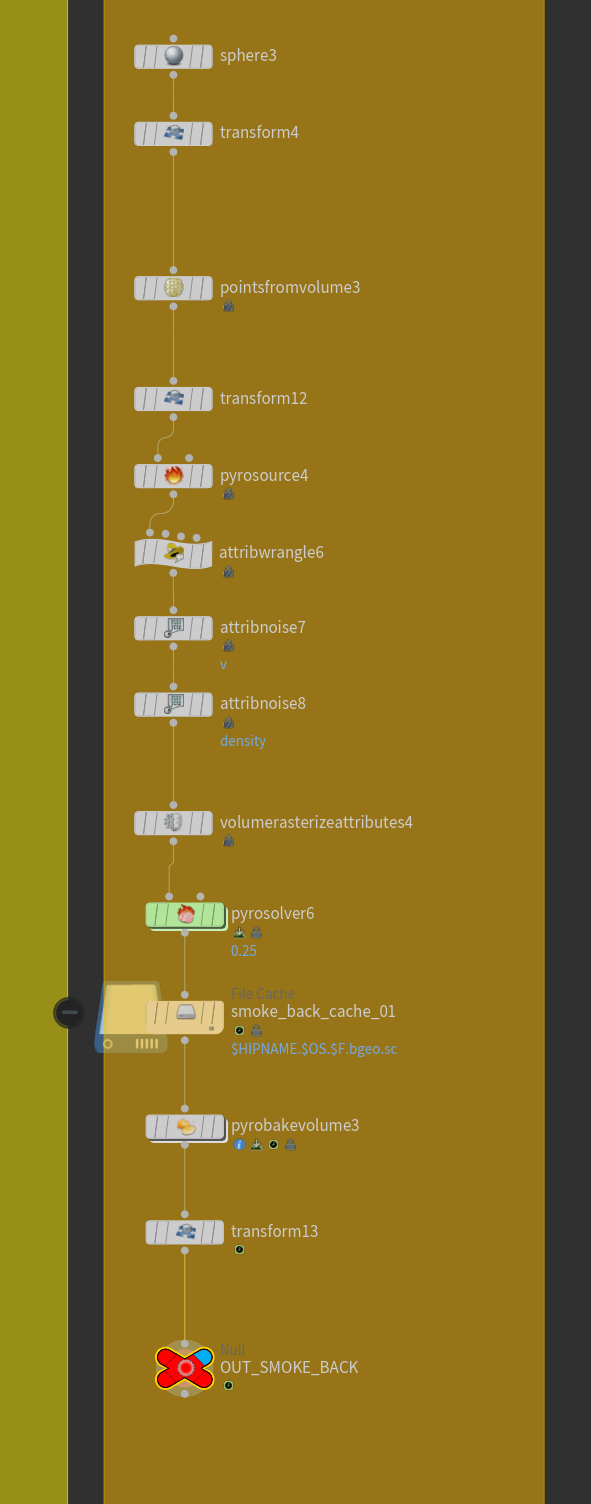
GLOBAL AND BACKGROUND SMOKE
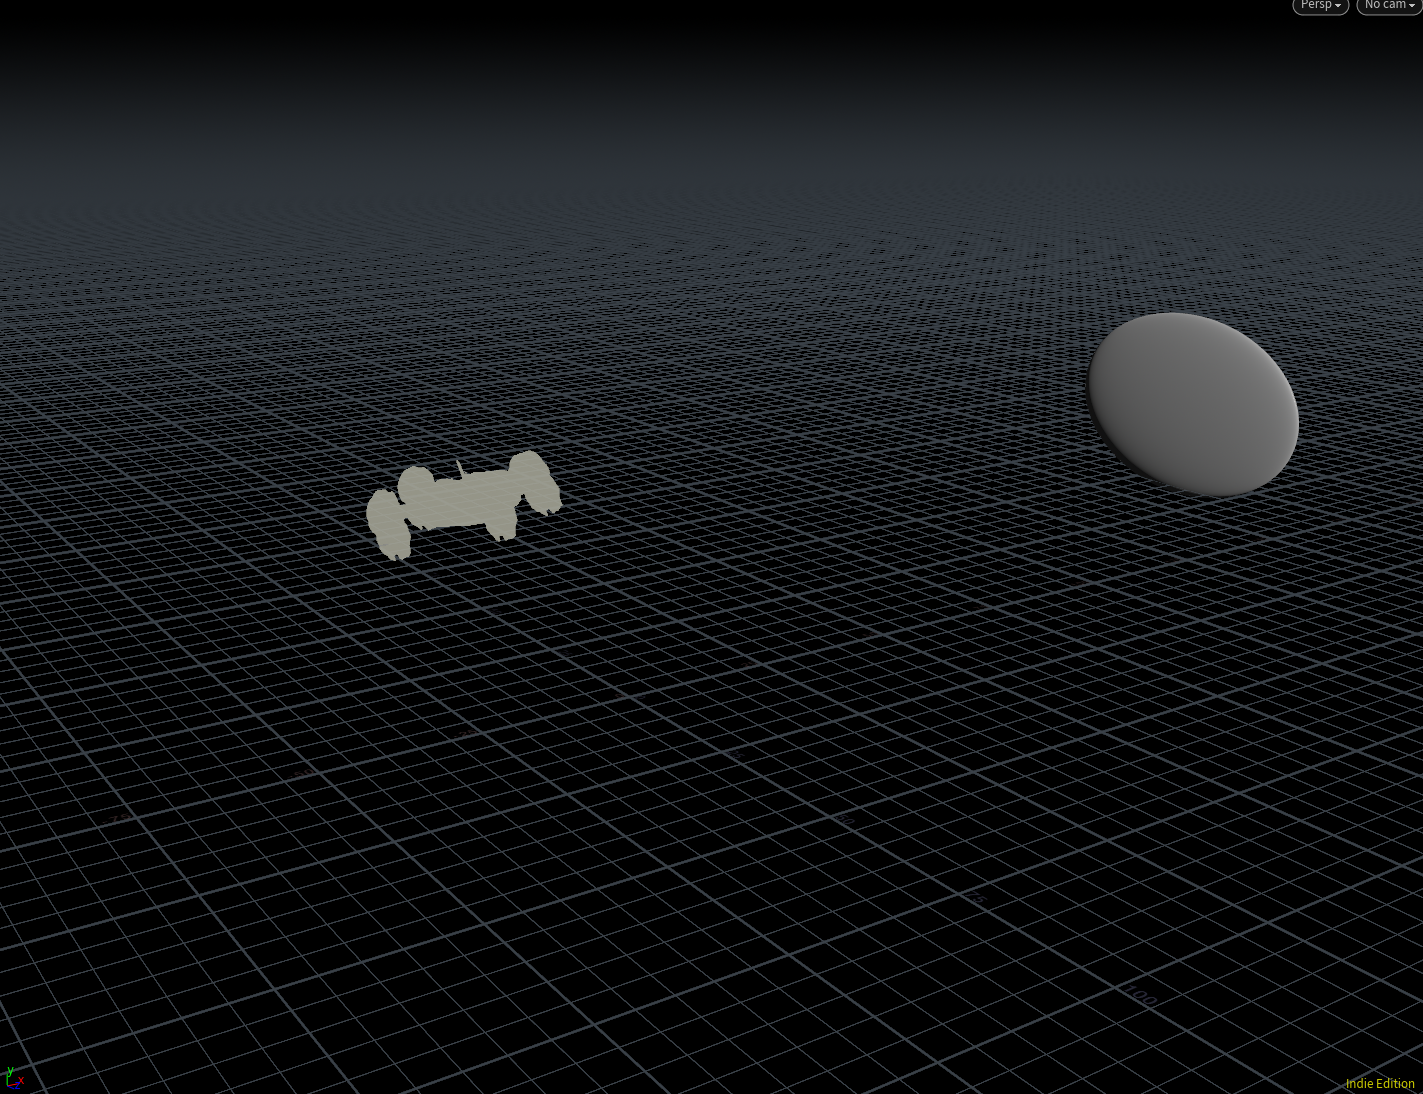
The global smoke is a very important part of the project, even tho is very simple. To make this I simply created a big sphere and used as emitter.
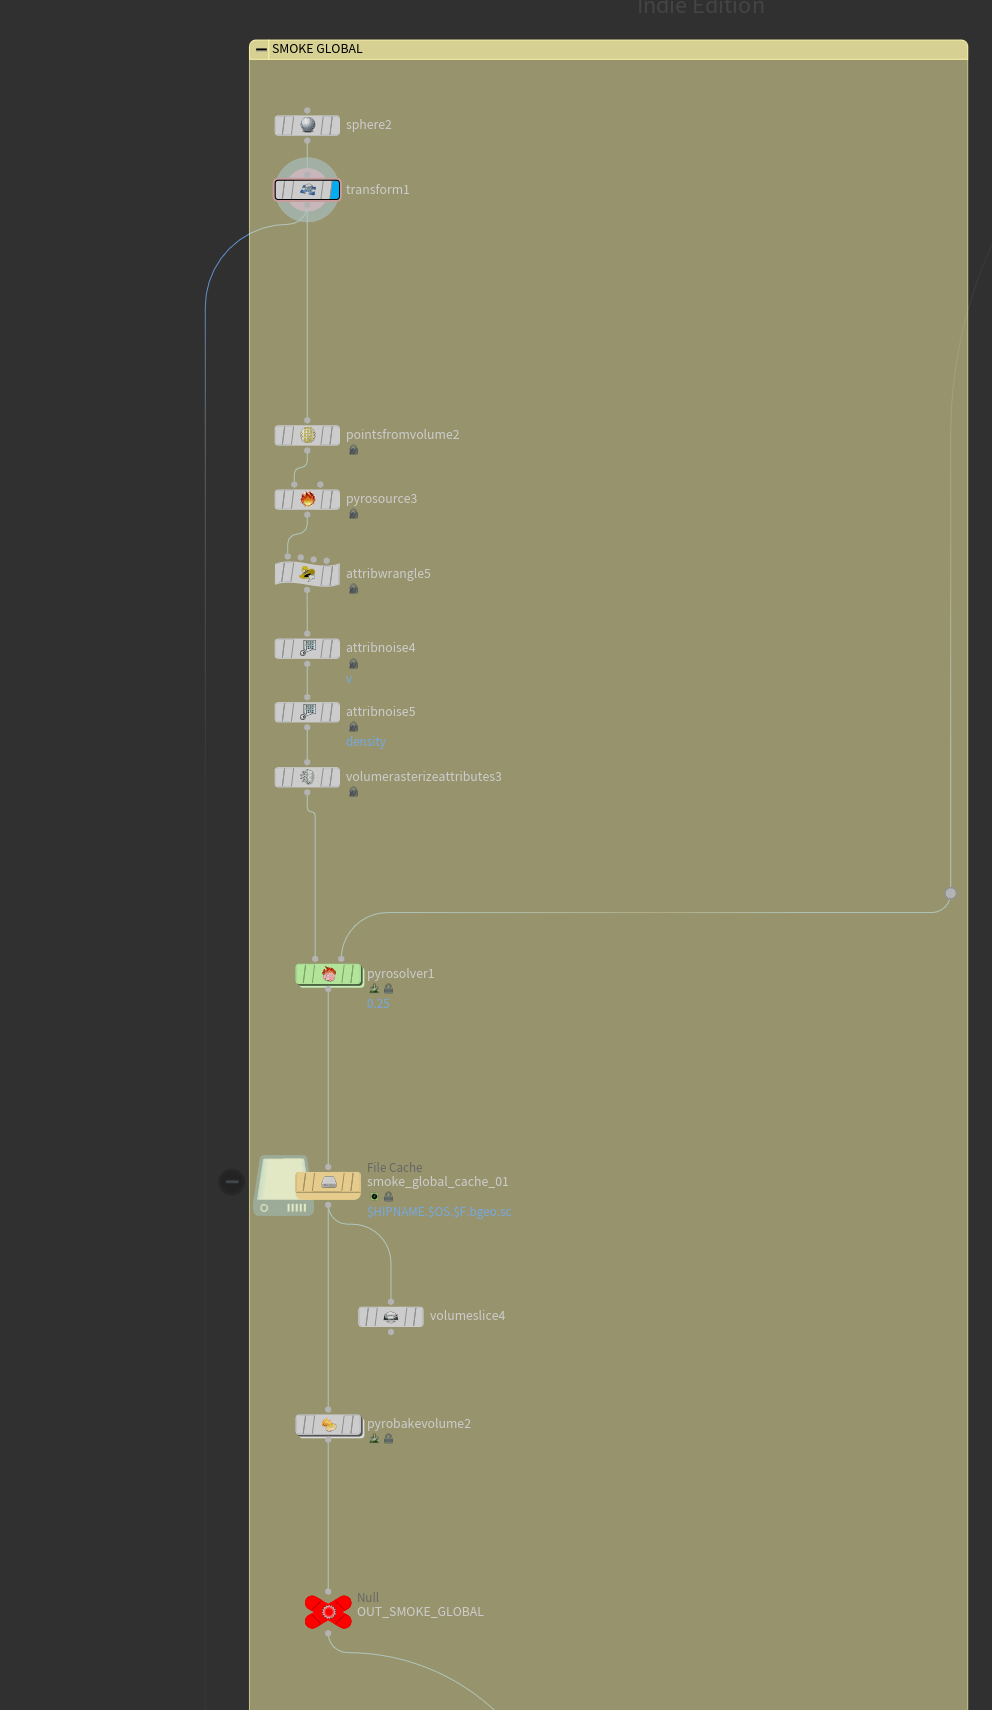
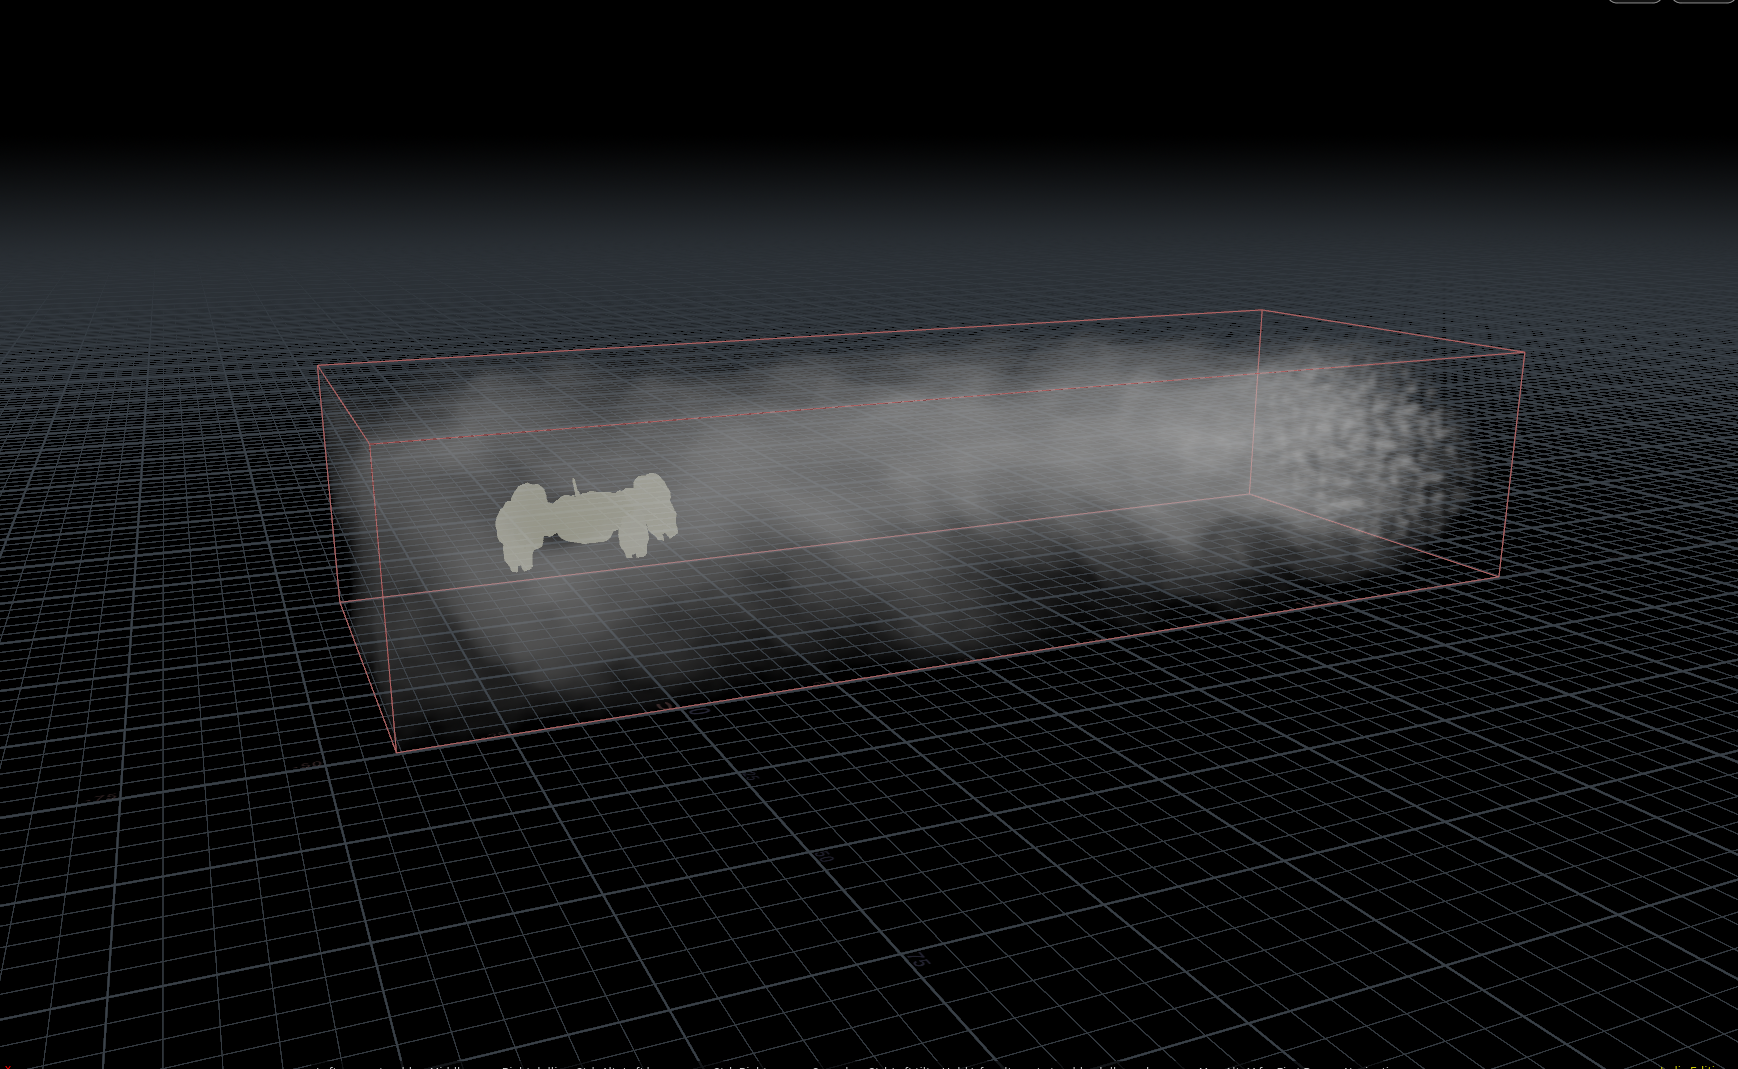
This smoke gave me the main global velocity, which I used for the rest of the particle setups that I have left.
Back smoke is the same idea, emitted from a big sphere. This are just to fill up the background.

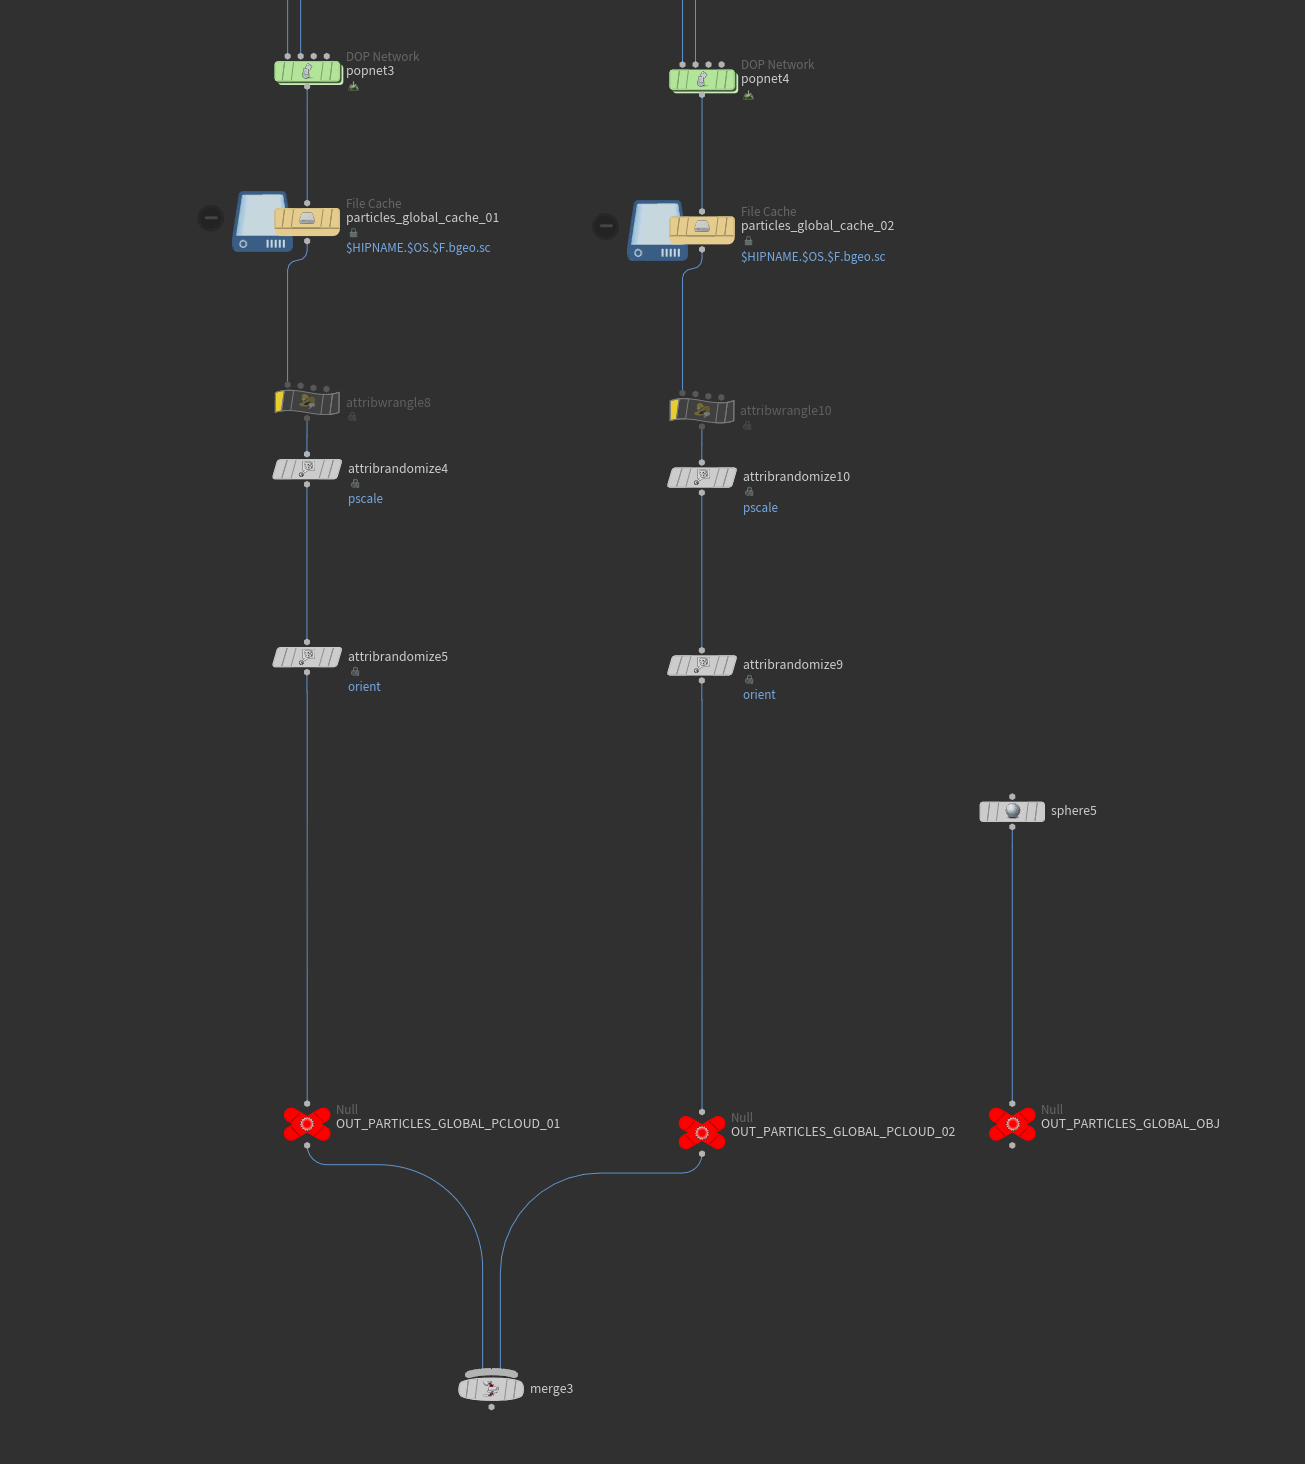
GLOBAL PARTICLES
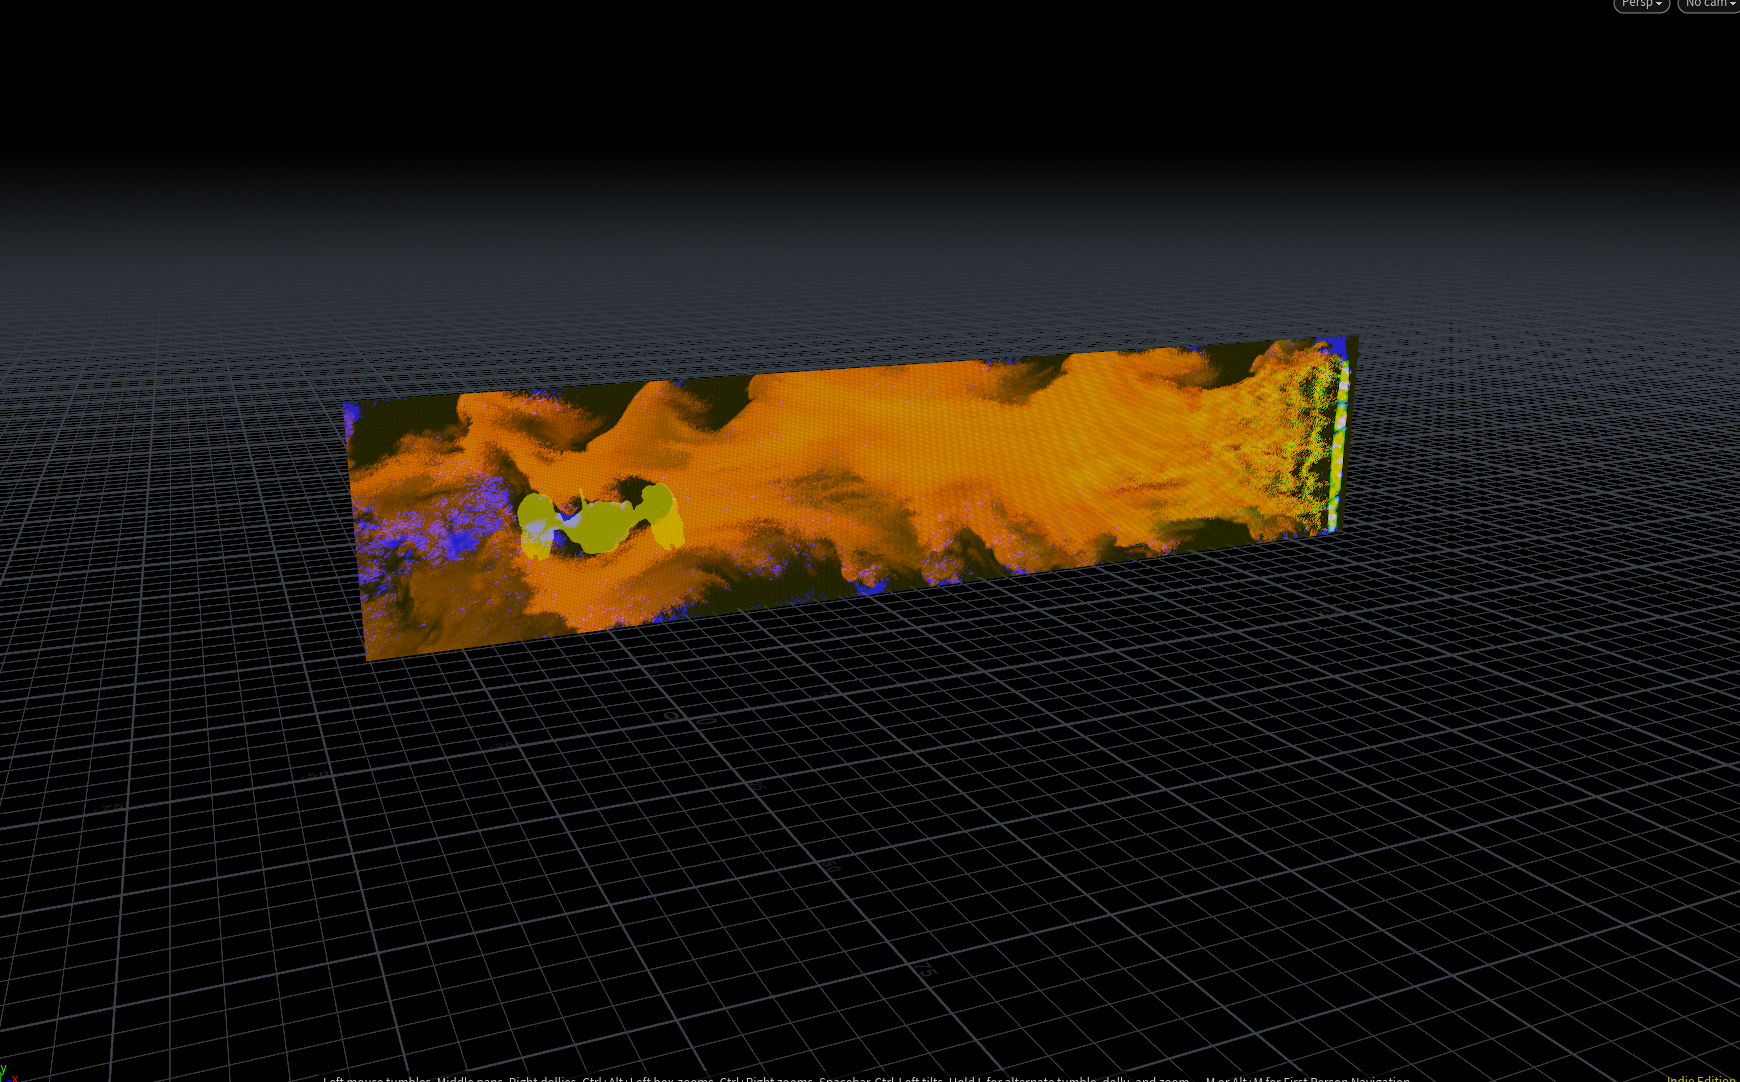
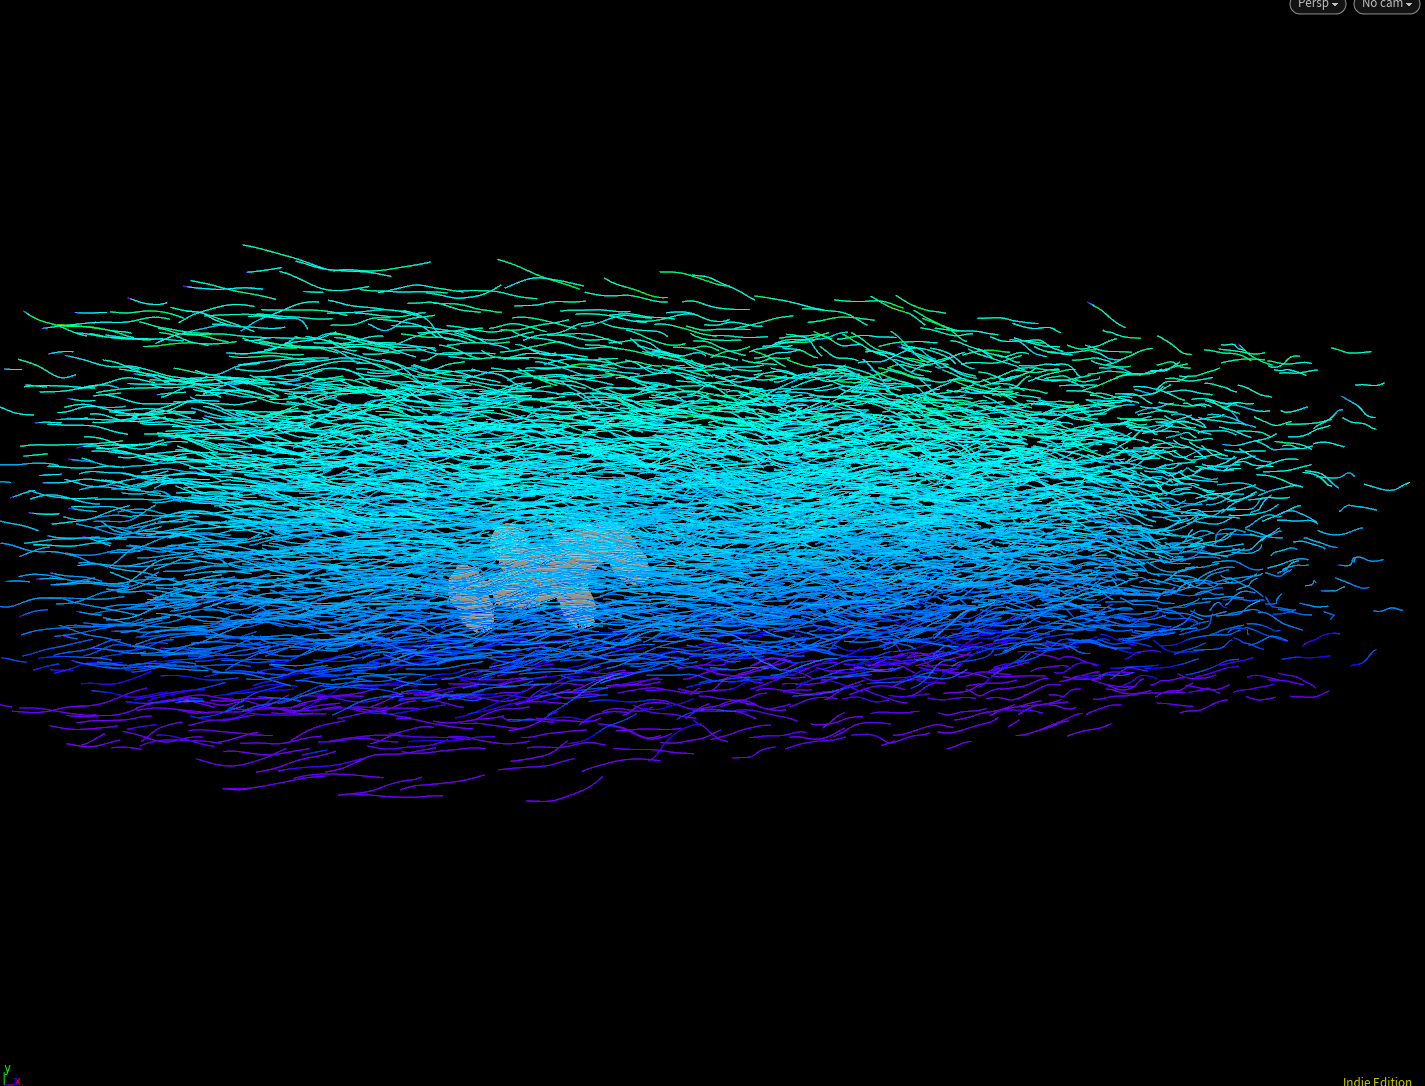
With the velocity ready from the Global Smoke, the particles behavior was easy to do. These are emitted from the same big sphere and advected by the Global Smoke volume.
I did these ones in two parts, so I could have them separetaly in post.
I did these ones in two parts, so I could have them separetaly in post.
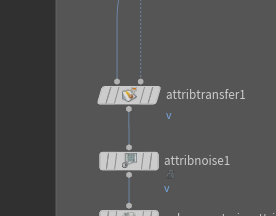
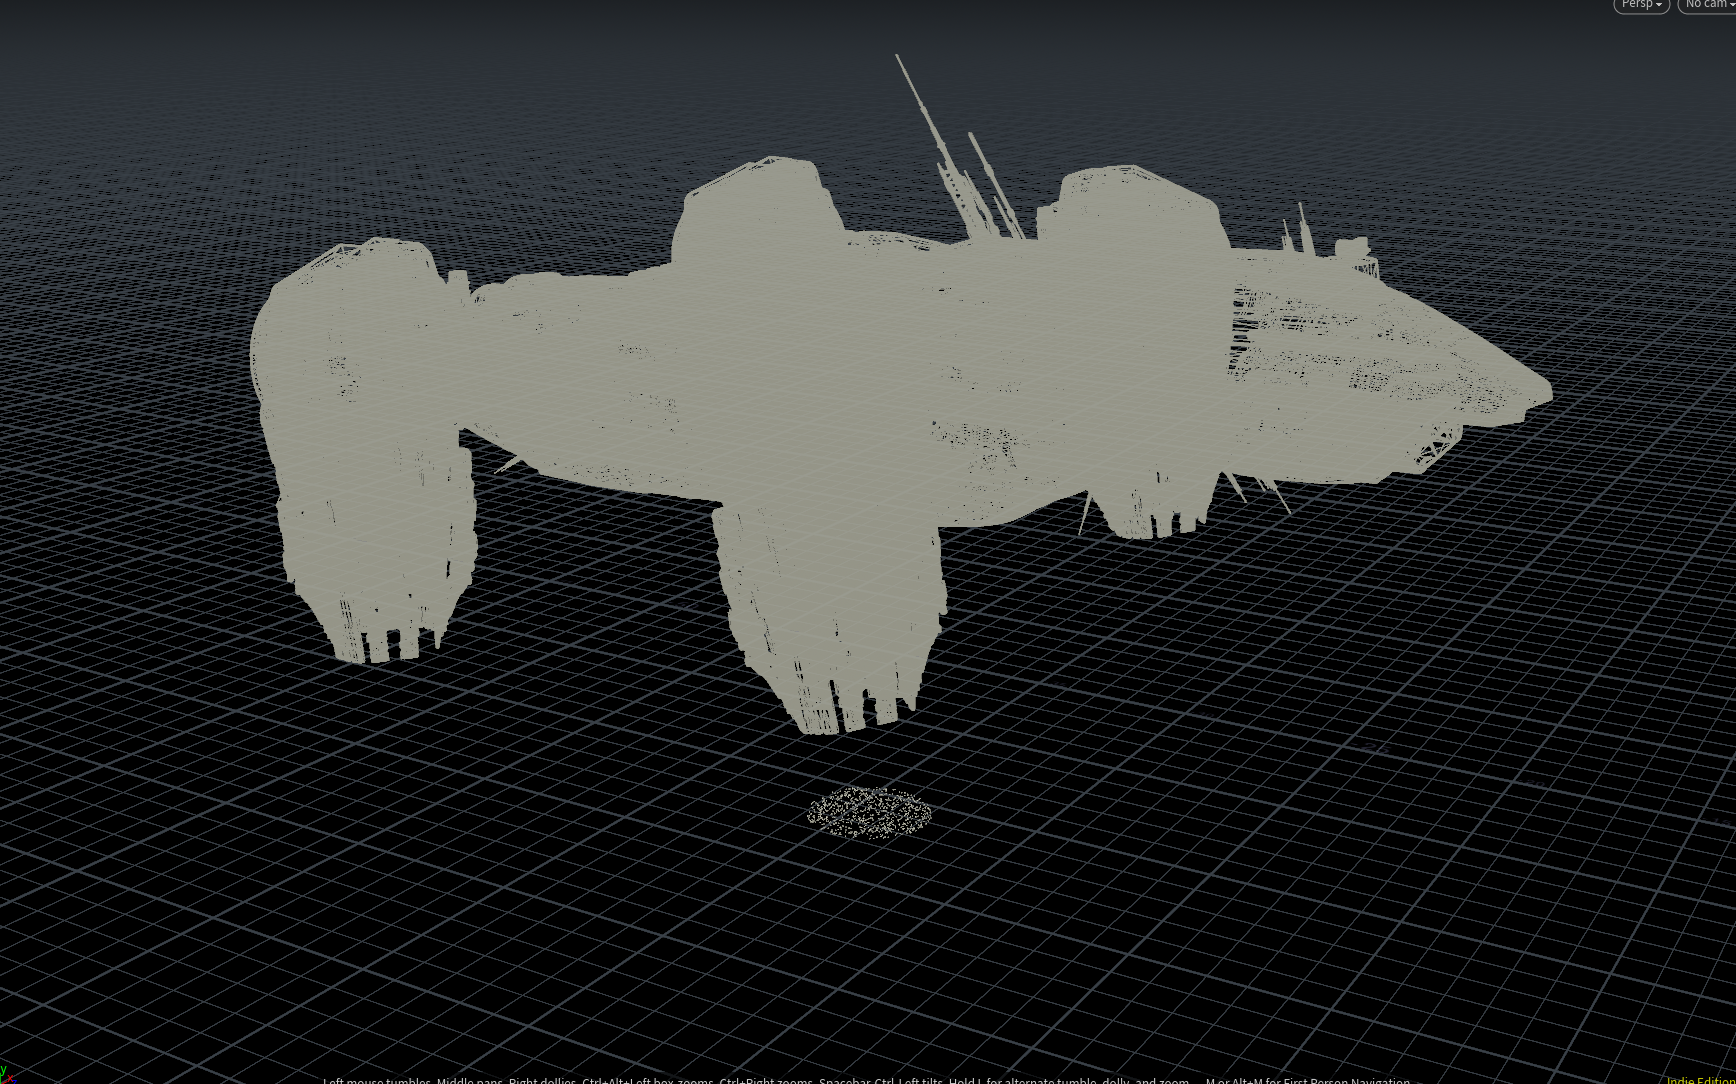
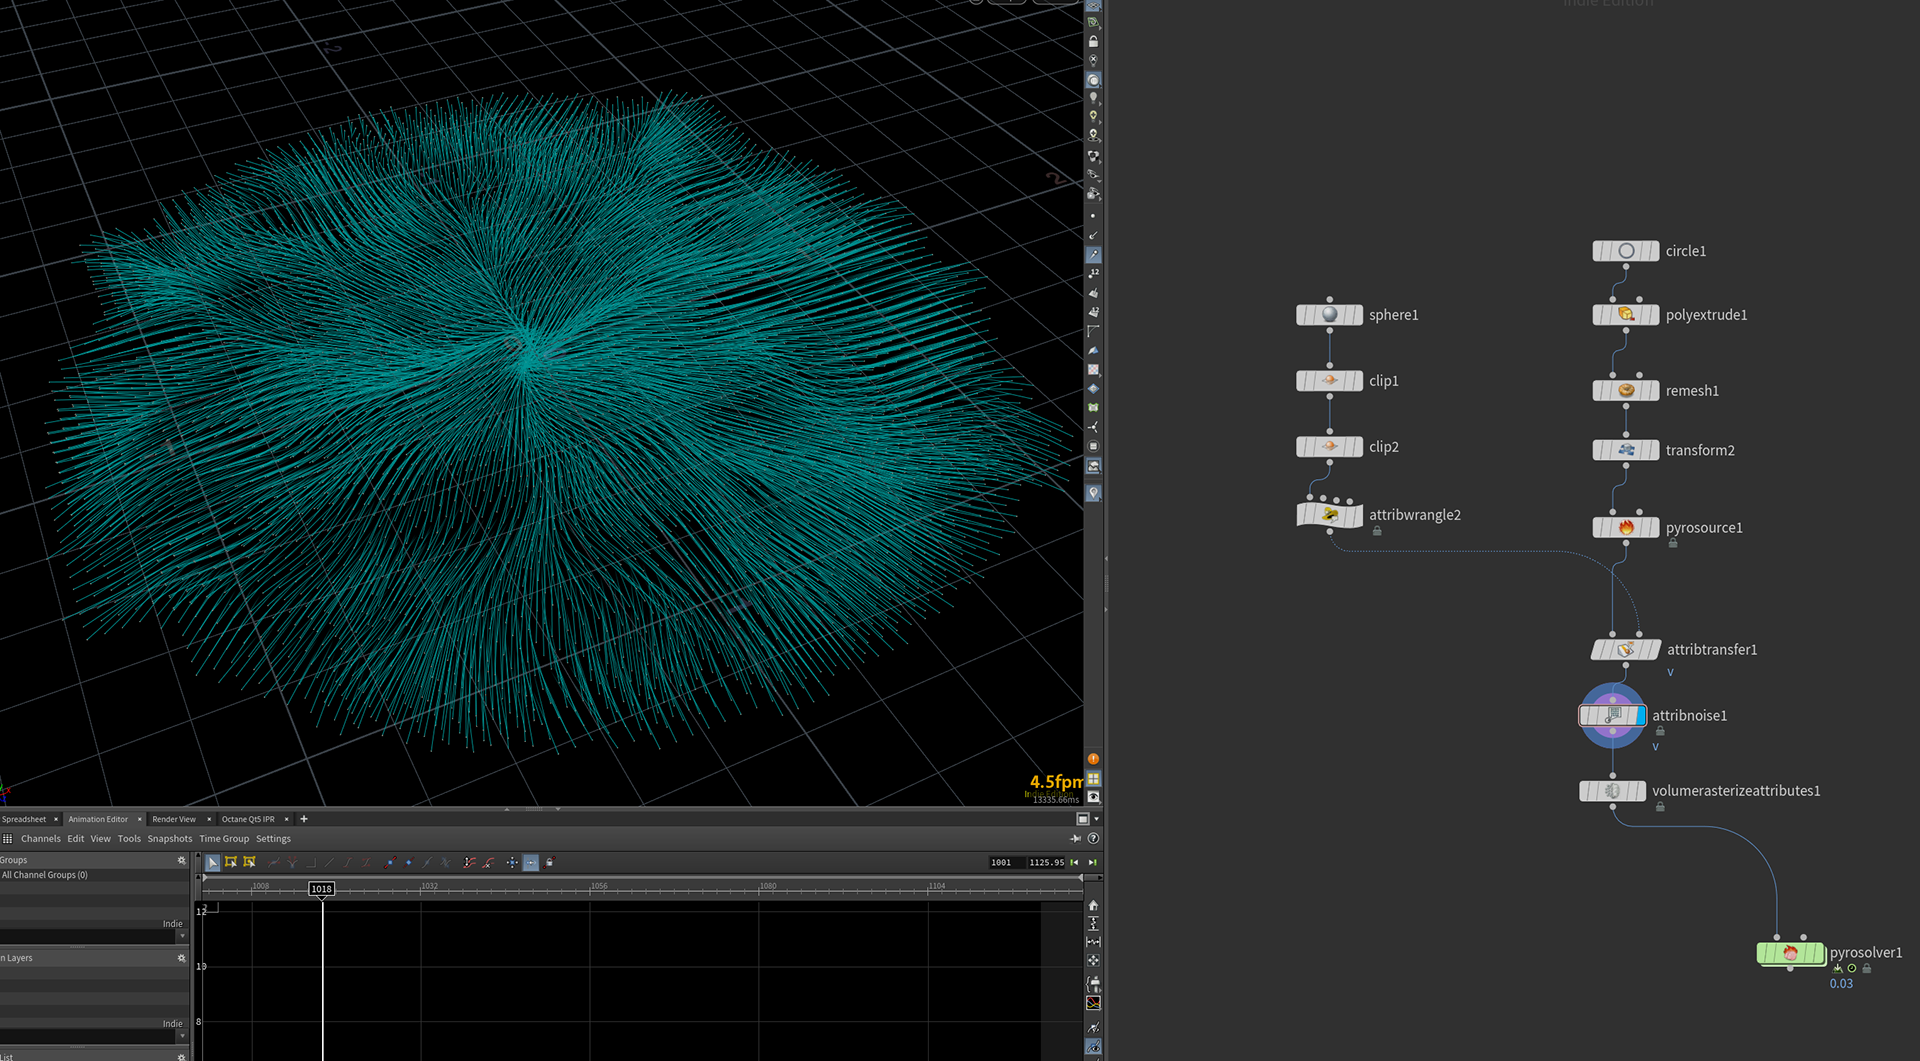
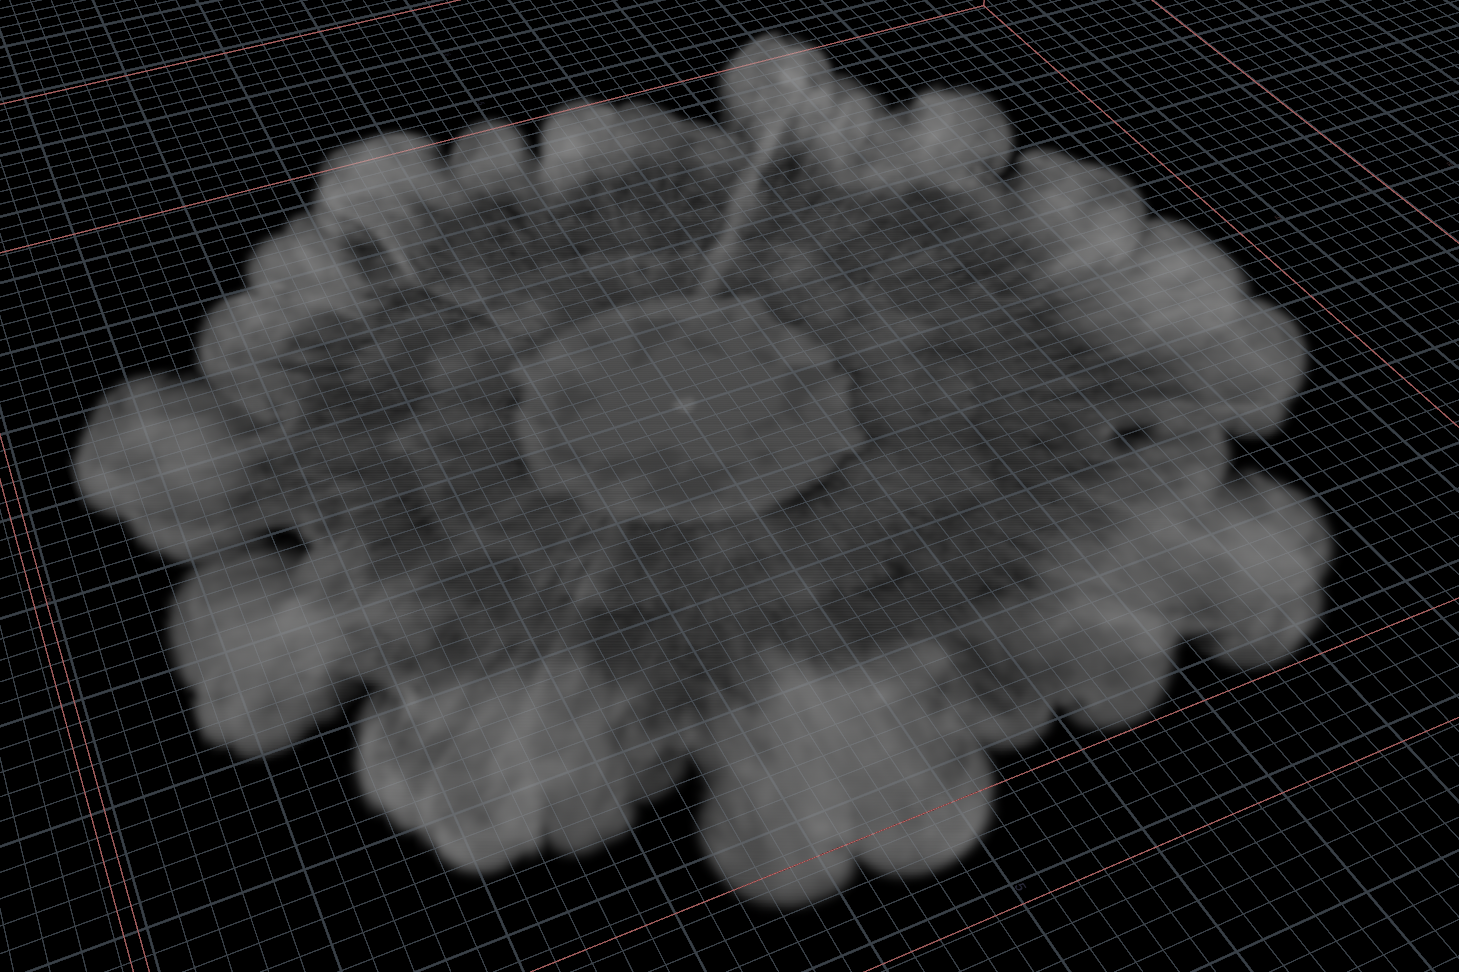
GROUND SMOKE
This was a very interesting setup to do in order to achieve the look I was going for. It's basically made of scattered points on the terrain. I did the selection by making an animated noise in Cd attribute and deleting it by expression.

Used it as pyro source and there we have it.
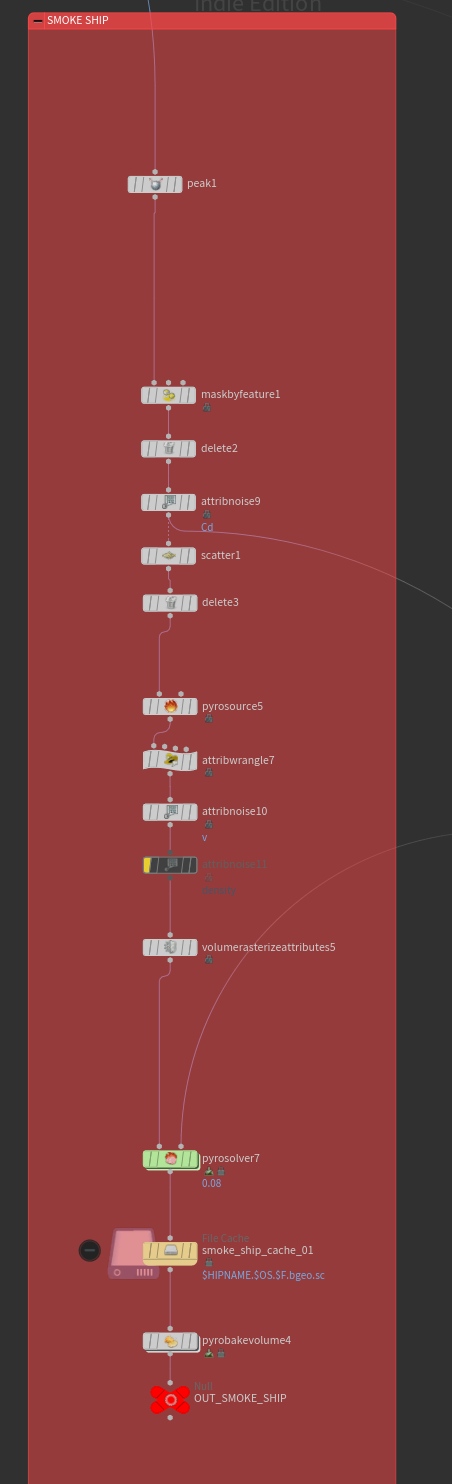
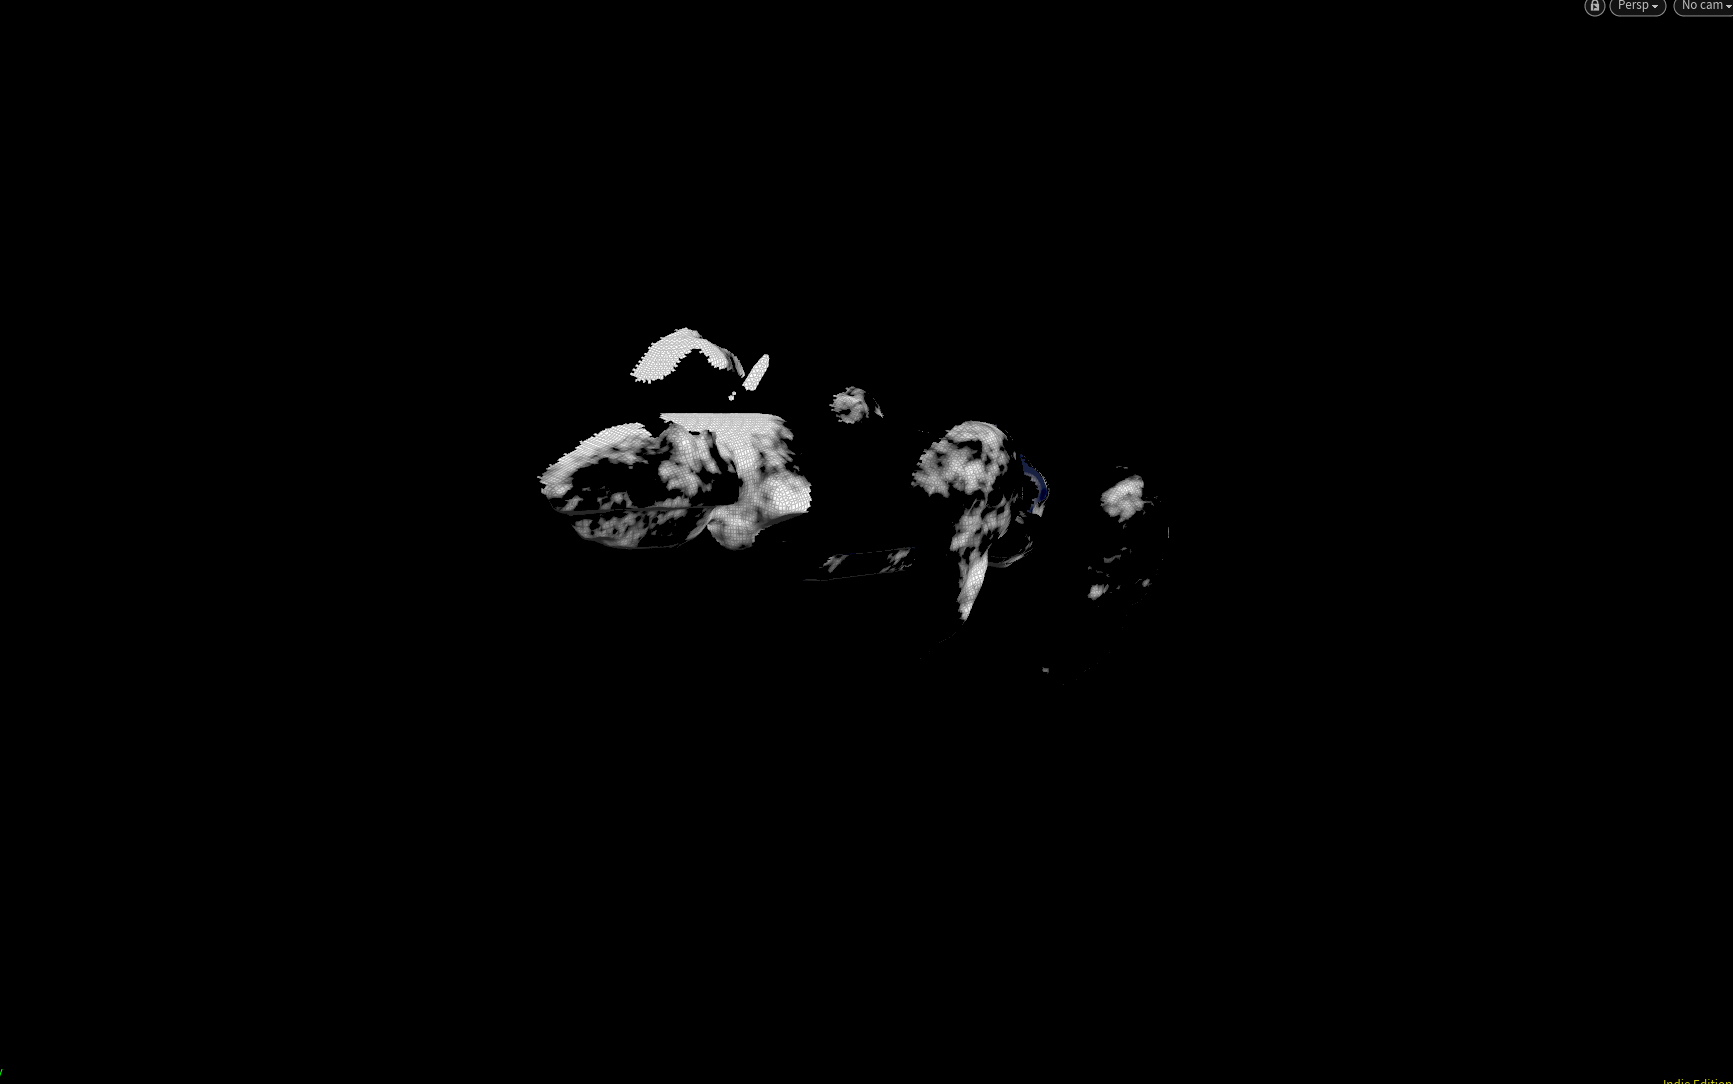
SHIP SMOKE AND PARTICLES
And finally, the smoke that interacts with the ship to give more of the impression of the smoke colliding. I was very proud of this one, despite the simple setup it looked really cool and added a lot more personality to the scene.
To create it, I made a mask on the ship using shadowmask, deleted it and used that to emit smoke and particles.

CHARACTER
Last but no least, the character FXs. These consist in cloth simulation and a flare fx.
The cloth is basically a grid, sewn into points on the character's neck. I simulated with a light wind force. The hood just has a position noise and that's it! If it works in the frame, it's worth it!
The character is holding a flare, which I made with a simple pyro simulation
ALL TOGHETER
LOOK DEV

First clay render
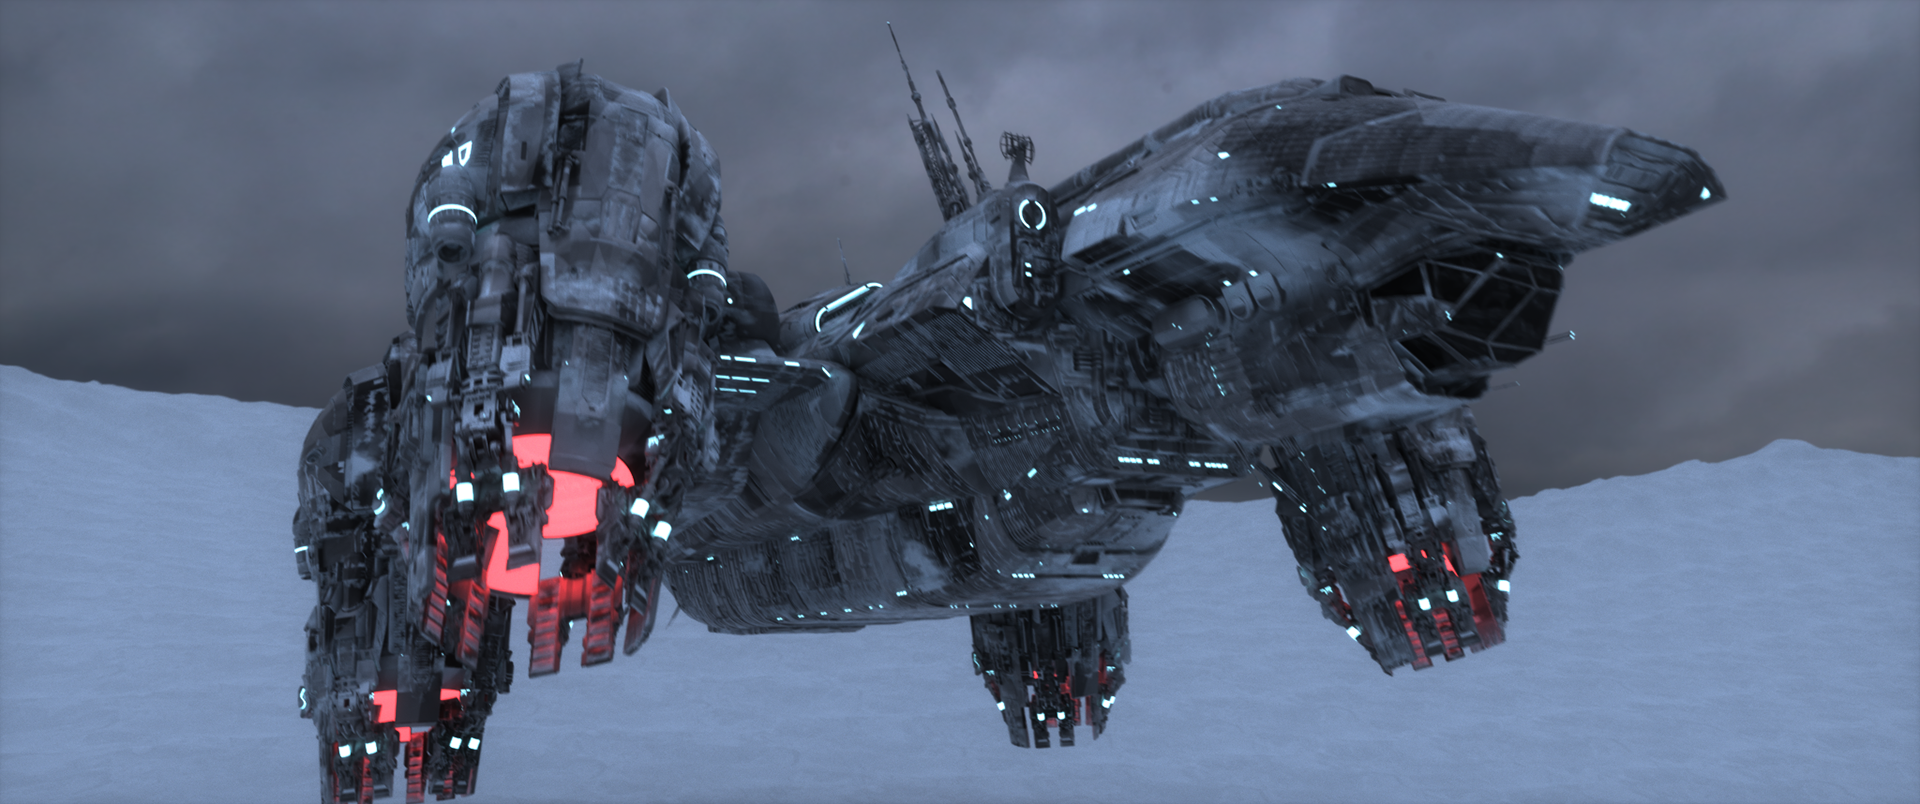
Ship look dev

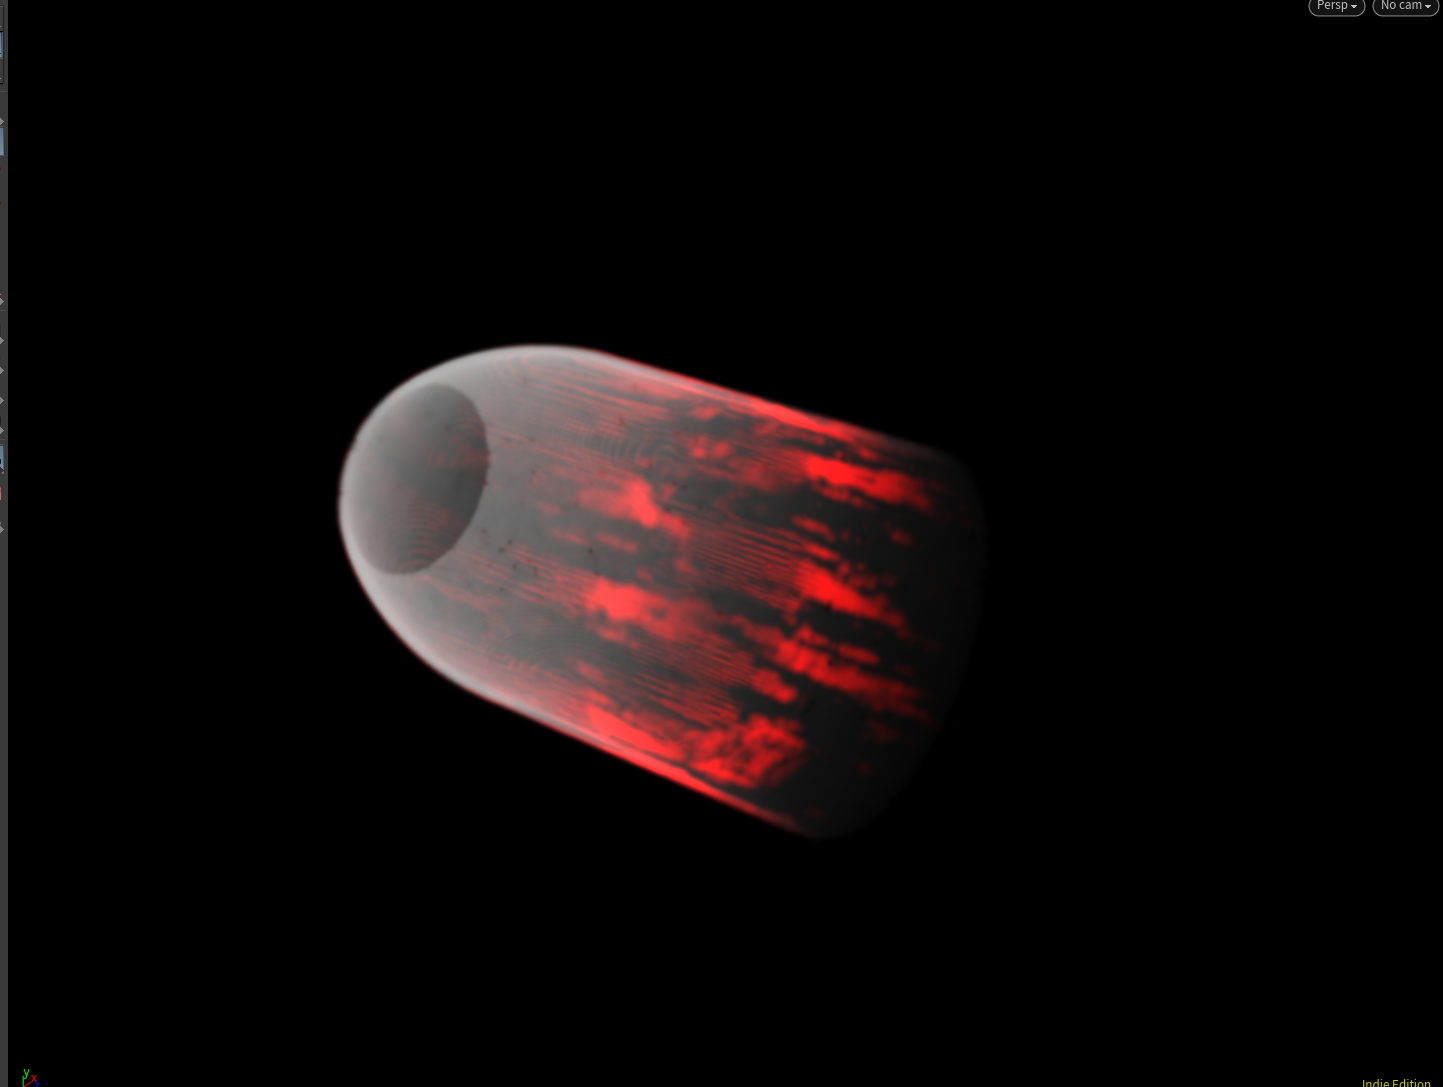
I opted for red thrusters to give a "enemy feeling"

Snow dirt details
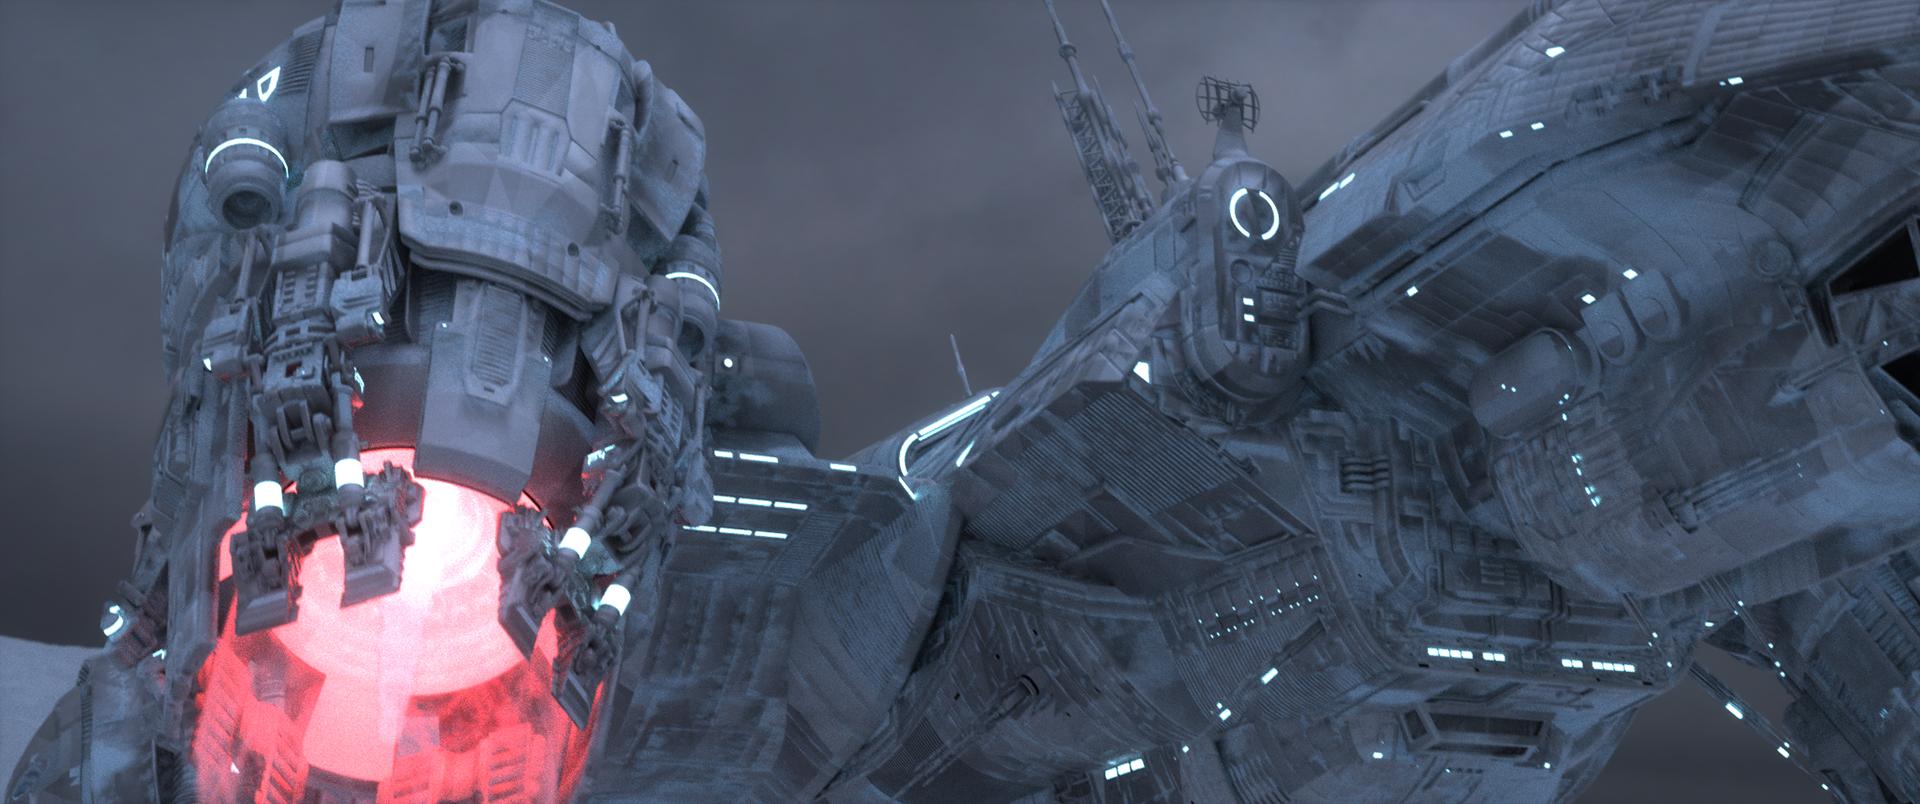
Snow dirt details
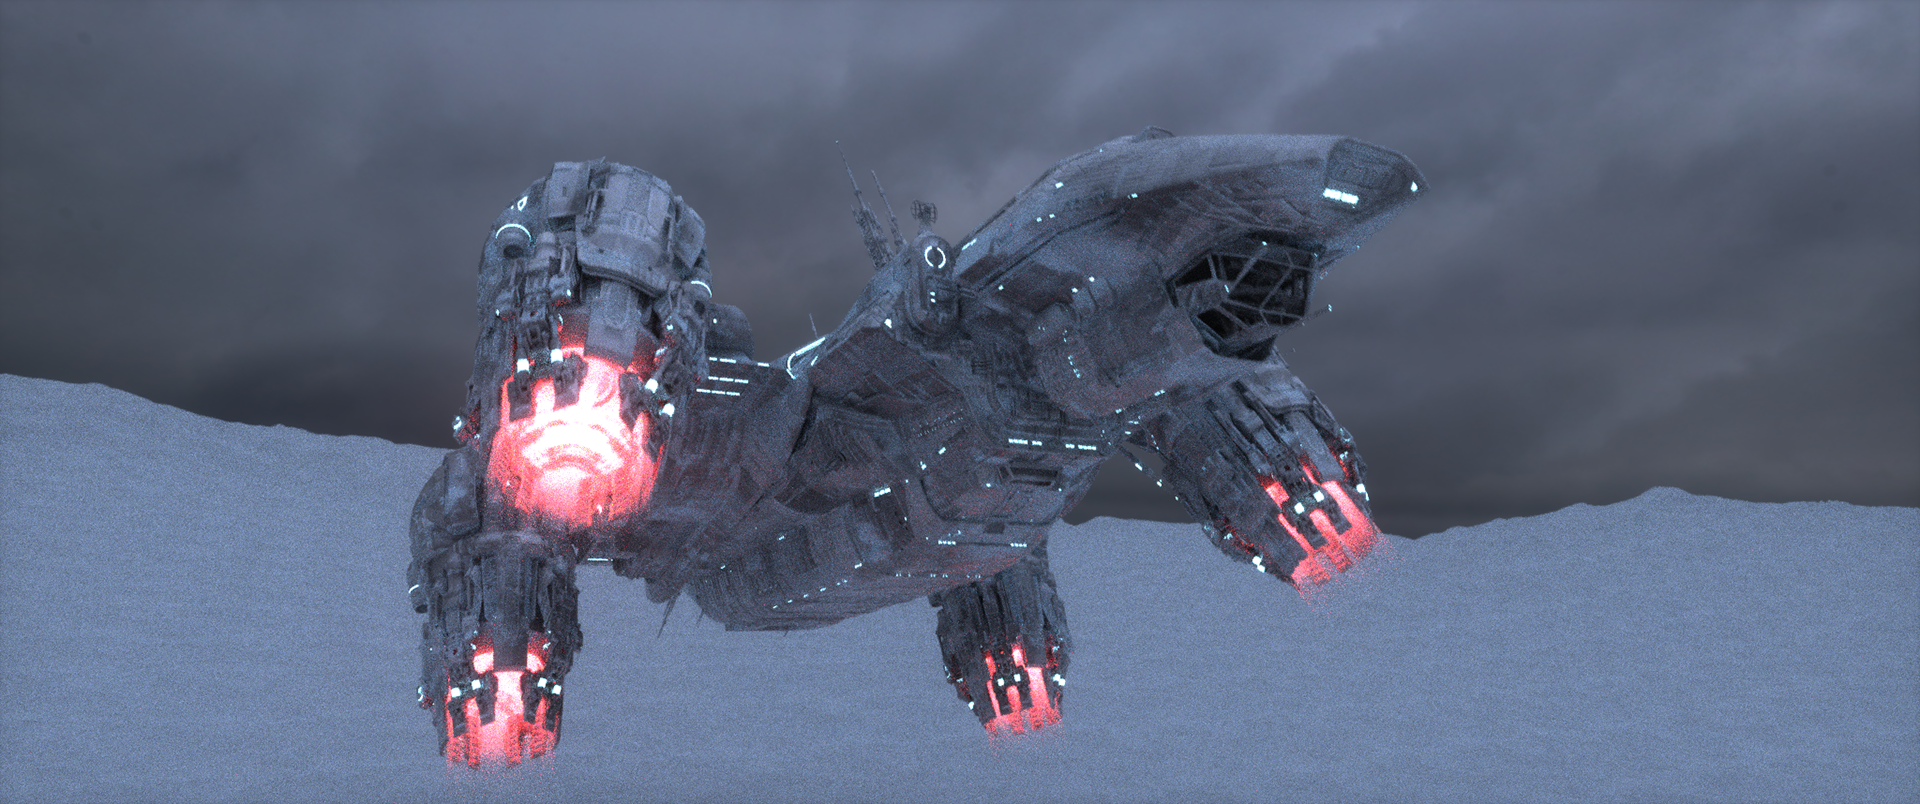
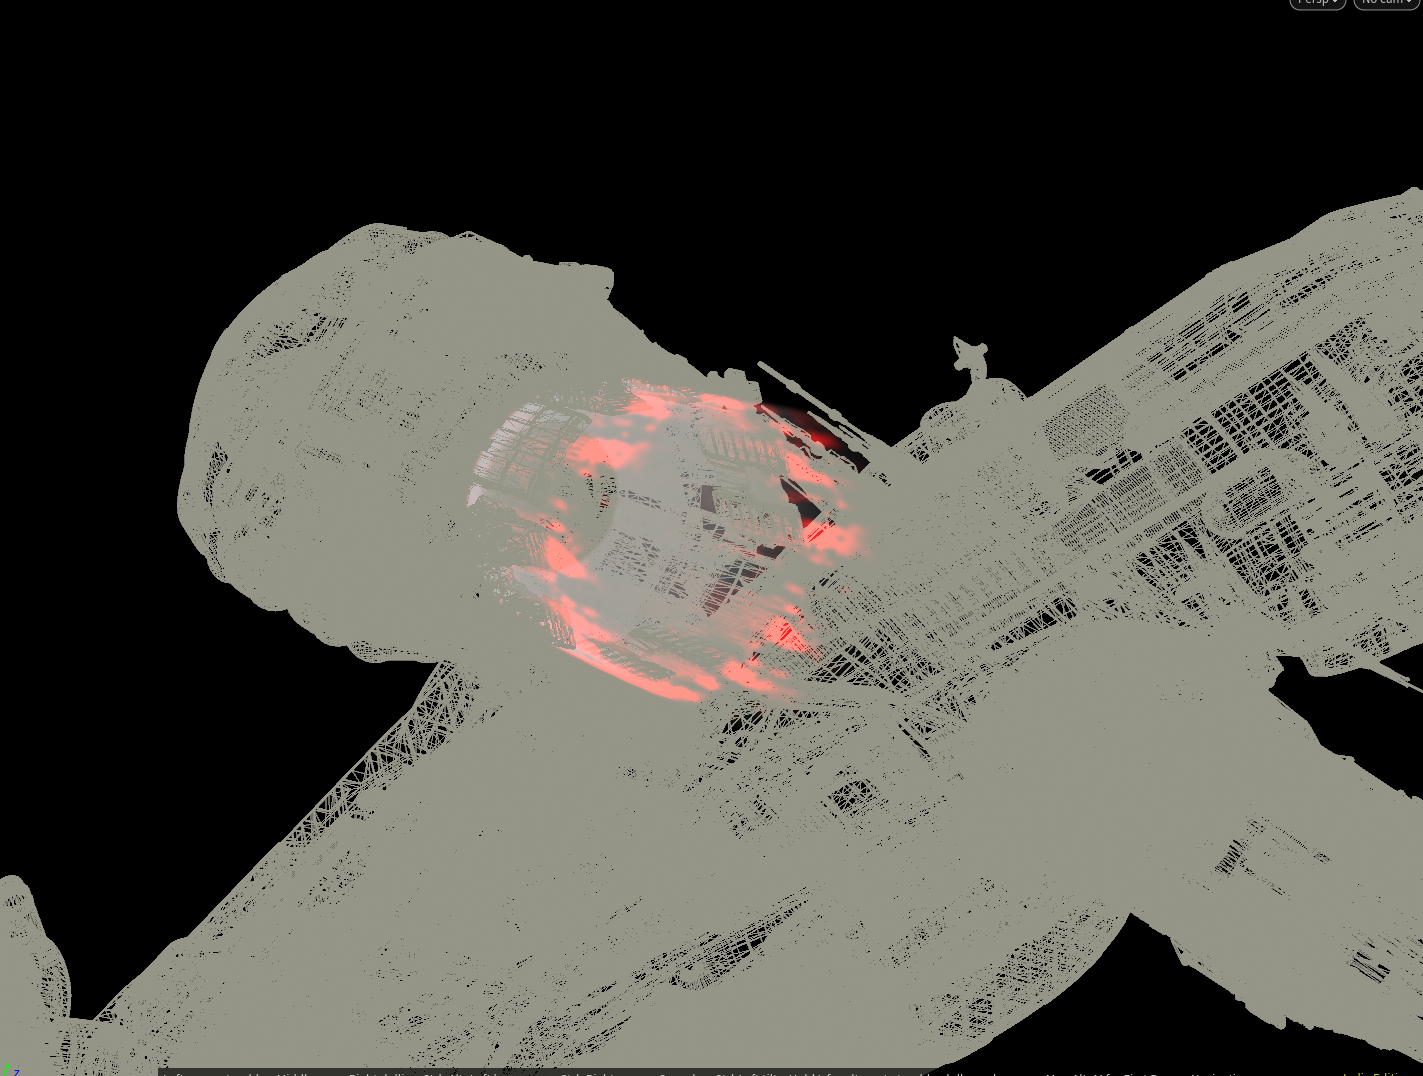
Thrusters look dev
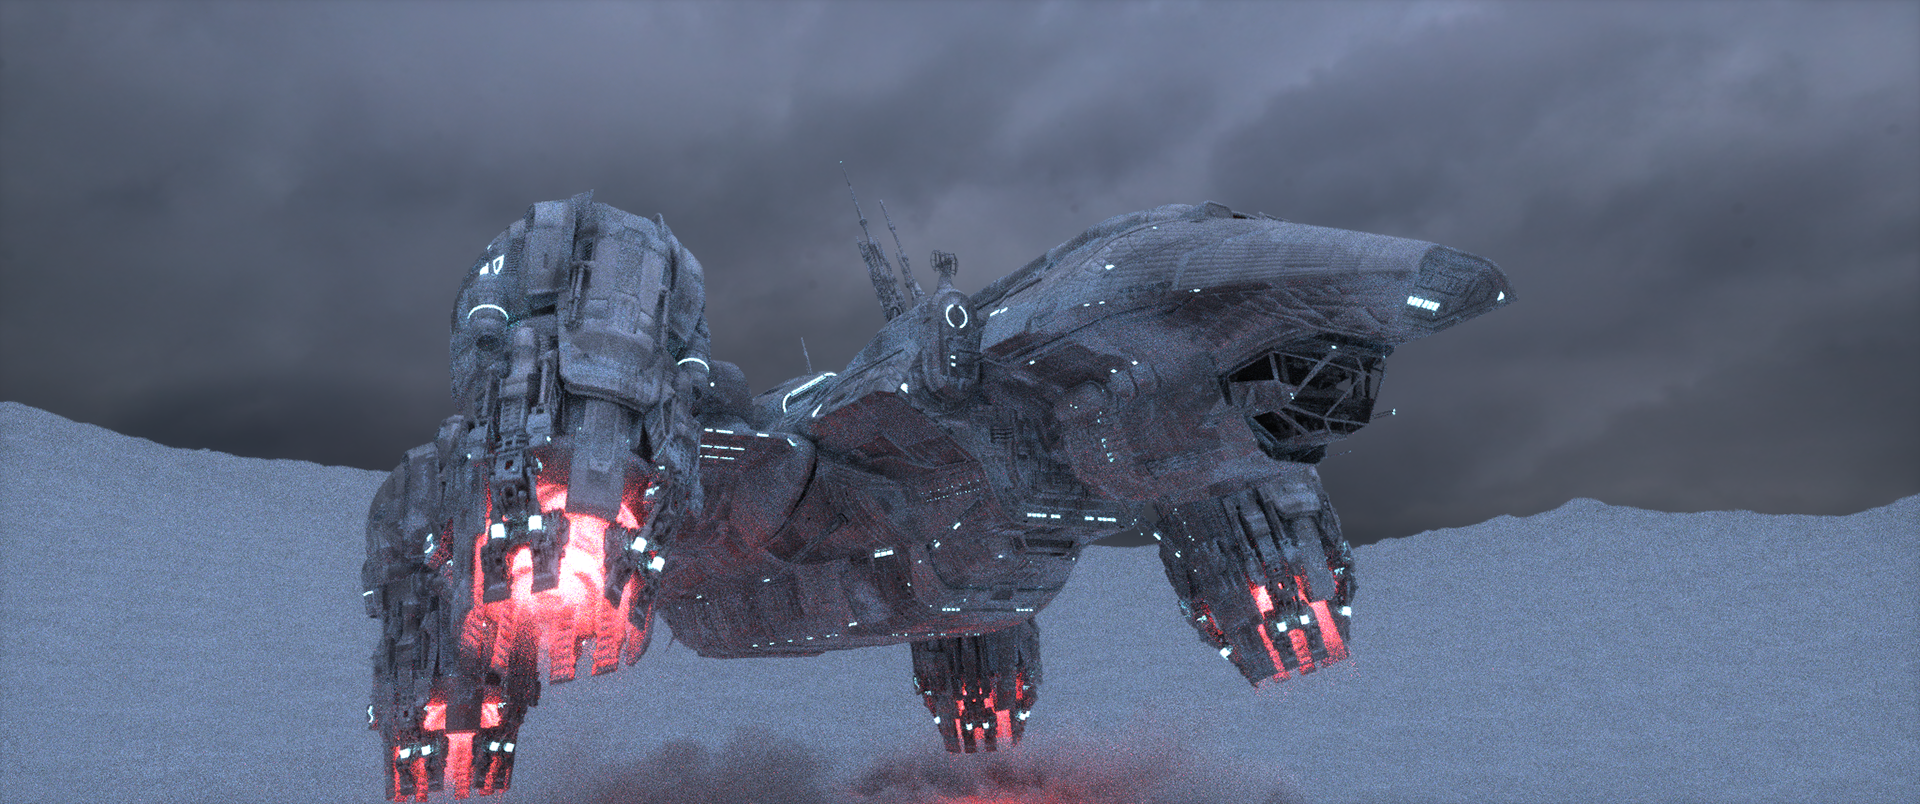
Thruster + smoke volume

Thruster + smoke volume
Ground smoke look dev
From then on, it was just a matter of waiting for the render. I separeted the render in 12 layers, each one to a specific part of the elements.
Total render time was 383 hours.
Total render time was 383 hours.

CONCLUSION
And that concludes the project. The making of this was very valuable to me, I could learn a lot and improve my skills technically and creativaly.
Once again I would like to thank to everyone who followed up while I was making this, to everyone who helped me with technical problems and feedbacks and to the moderation from Houdini BR Discord server for hosting up this challenge.
Please don't forget to watch the end result in HQ, as well as the breakdown video.
If you read until the end I appreciate your interest and invite you to follow me on my social media, where I post more of my works!